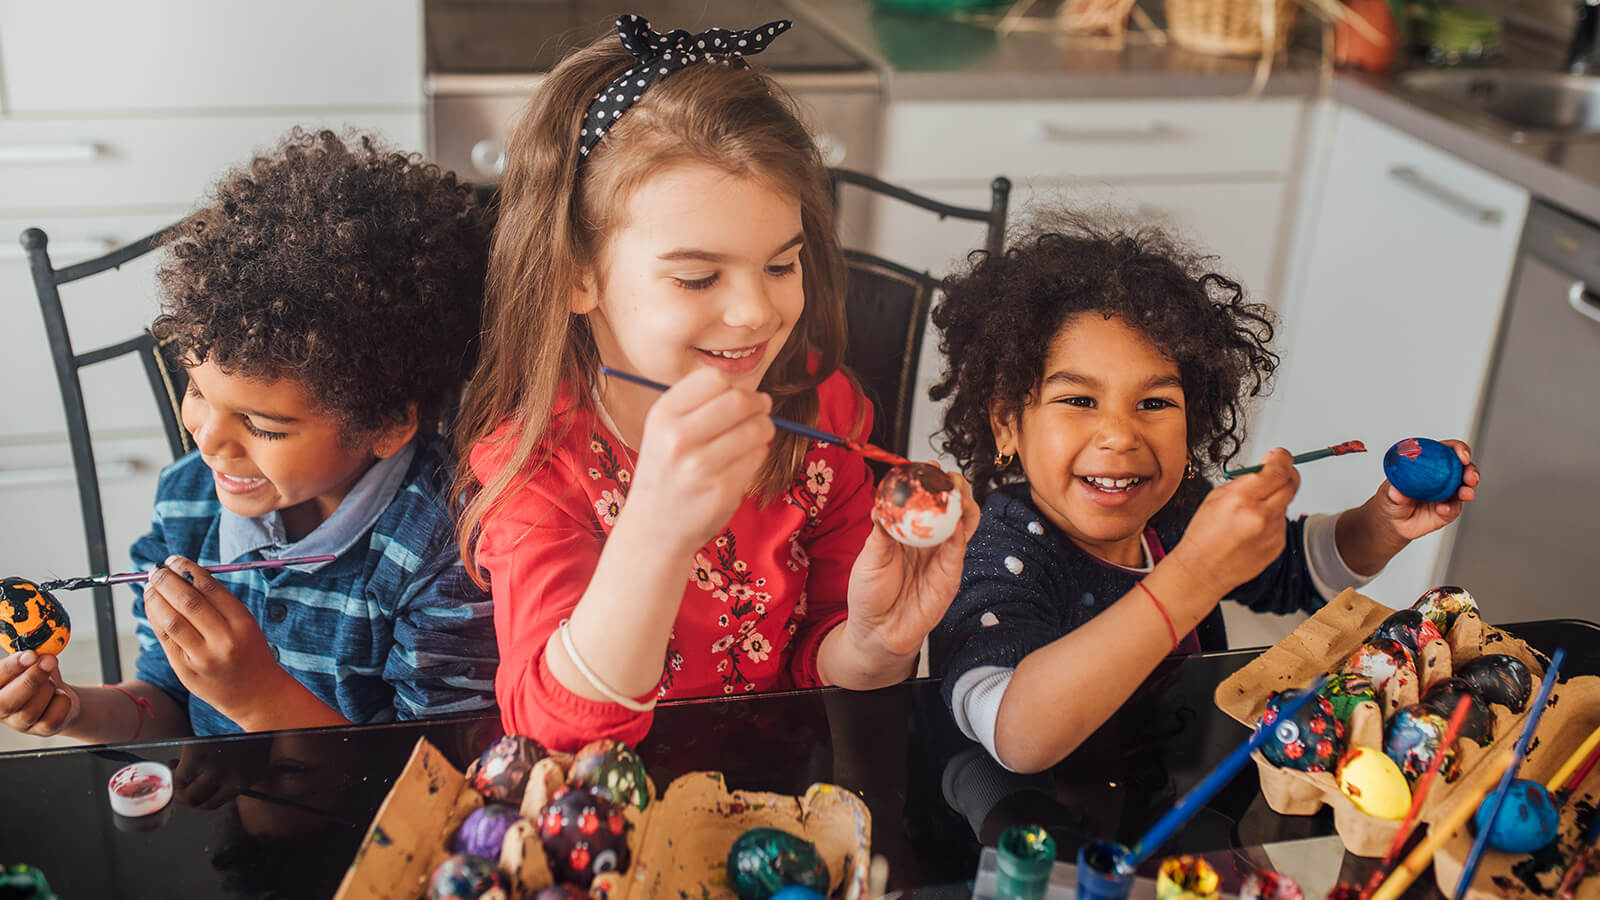
Summer is now in full swing! It’s the season of summer camps, family vacations, and…fixing the piles of your children’s artwork and school papers they’ve accumulated in the past school year.
While it’s exciting to see how they’ve developed and what they’ve learned over the past year, it can also be overwhelming to decide what to do with the mountain of papers that have landed on your dining room table. Unless you intend for that pile to remain there until it’s time to clear the table for Thanksgiving dinner, you’ll want to get it organized in an intentional, methodical manner.
You know you can’t keep everything—If you do, you’ll dilute the value of all the pieces. After all, it’s better to look through a carefully curated collection of special milestones, versus a stack that consists primarily of fill-in-the-blank worksheets and weekly spelling tests.
The key to creating an intentional collection is to ask the right questions while sorting through the pile. This helps you decide what to keep and what to toss. Here are 6 questions to help you carefully create a collection worthy of preserving and sharing.
Does it contribute to the story I want to tell?
Approach the project from a storytelling perspective. Think of yourself as the chief storyteller, carefully choosing what to highlight and share about your child’s progress in the past school year. Begin by listing three to five things that stand out in your mind when thinking about what they learned during the year. Use these an outline to guide your decisions.
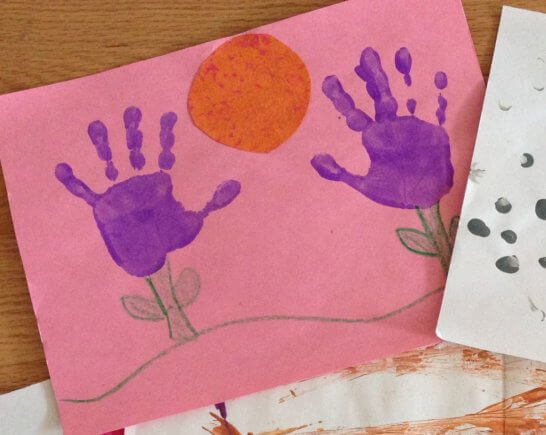
Was this the year your child learned how to write her numbers? Keep one worksheet from each quarter showing how she progressed. Did he learn how to draw the horizon using depth-perspective? Keep a piece that illustrates this new skill.
Preserving the pieces that provide details for this progression enables you to create a story for her year.
Does it accurately portray your child’s personality?
As your child develops, her personality shines through. Maybe your child is a strong-willed, determined tot that always approaches classwork from an outside-of-the-box perspective. Maybe she’s a quiet rule-follower that hones in on the details of the assignment. Or maybe you are raising the next Walt Disney, having noticed a variety of cartoon characters drawn in the margins of all his assignments this year. Choose to keep pieces that highlight the facets of your kid’s personality that were really brought out during the school year.
Does it document details about who your child was at that age?
With each school year comes new interests for your child. Was this the year she only wanted to do gymnastics and wrote about it in all of their writing assignments? Or was this the year he learned the “floss” dance moves and only drew pictures of Fortnite and Minecraft?
When you think of your childhood years, what stood out as interests and trends for you? Use this as an opportunity to preserve the artwork and papers that reflect your child’s interests for this school year.
Do you absolutely love it?
As with all simplifying projects, it’s not always about choosing what to keep based on a certain set of criteria. Sometimes it’s all about choosing to keep something because you love it. In my experience simplifying my own life and helping others simplify theirs, it can be easy to decide that you love everything.
Knowing this, I encourage you to choose only pieces that you ABSOLUTELY love. This keeps you from deciding that everything is worth keeping. It’s important to note that time is often your best friend when it comes to this question. When everything is recent, it’s easy to love it all. But as time passes, you’re likely to have an easier time deciding what stands out as pieces you absolutely love. This way, it’ll be way easier to have an entire year’s worth of pieces to go through!
Do your kids absolutely love it?
When going sorting through your children’s items, it’s very important to involve them in the process. Just as you’ve done with the previous question, it’s important to ask your child which pieces they absolutely love.
Depending on their age, you might need to begin by helping them sort their items into three categories: “Yes,” “No,” and “Maybe.” After this, narrow down the “Yes” and “Maybe” piles by selecting only the things they absolutely love. It’s always fun to see which artwork they’re most proud of and to hear the stories behind what they created and why they made it. I suggest penciling these stories on the back of the pieces to make them even more meaningful.
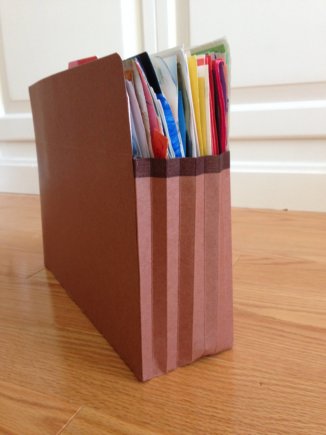
Does it fit in your pre-chosen container?
Containers enable us to maintain limits—literally and figuratively. Containers can help keep our possessions manageable and tidy. Whether it’s a plastic storage bin, a binder, or a file folder box, designate an “Artwork & School Papers” container for each child.
Plan for what might come in in future years (hint: they bring home fewer crafts as they get older) and choose a reasonably sized bin that you can envision passing on to your child when they move out. Since you’re the curator of the project, you get to choose what feels like “just enough” to tell the story of their childhood.
If the container starts to get too full as pieces continue coming in, review the previous years’ collections and decide if they are still worthy of keeping. As time goes by, the truly meaningful pieces will stand out.
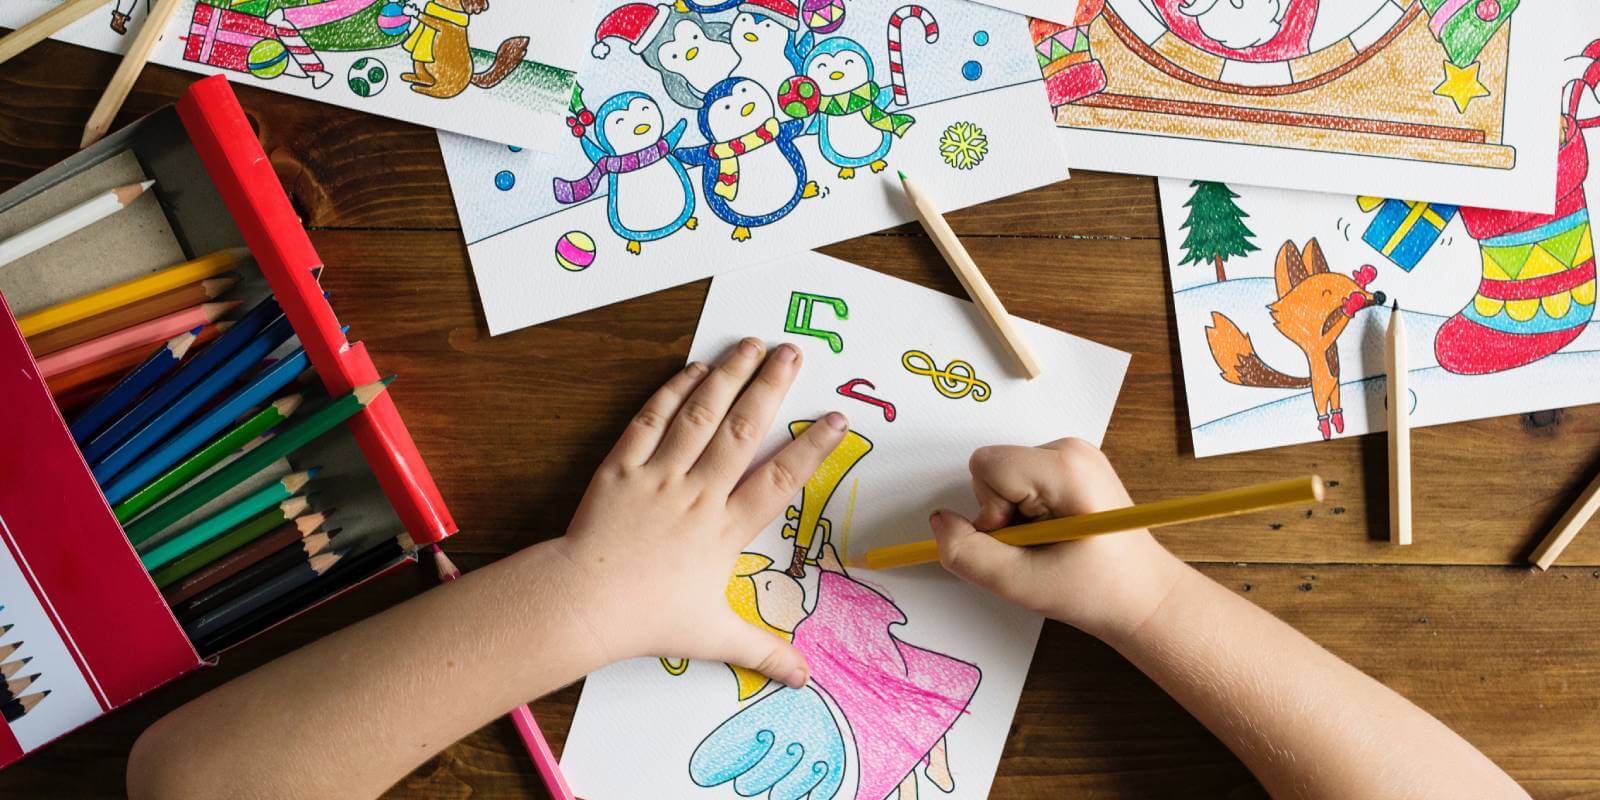
As a final step in the process, I recommend creating a digital version of the collection. This is especially important for artwork that involves glitter, pasta, and other three-dimensional objects that don’t store well.
Keep the digitizing process super simple by organizing the pieces according to your kids’ grade level, then take pictures of each item on a plain surface like a white poster board. Upload a copy to your computer or hard drive, but don’t just leave it there! Share the images on a Nixplay Frame so you’ll
immediately be able to enjoy your curated collection of your kids’ creations in your home. You can even share them with your friends and family all over the world through their Nixplay Frames!
Marianne is Nixplay’s Web Content Editor. Her hobbies include exploring new places, playing table tennis, and cuddling puppies. Send her a message at marianne.salazar@nixplay.com.