Tag: animal photography

easy tricks to teach your dog

Tricks To Teach Your Dog For The Best Puppy Photos

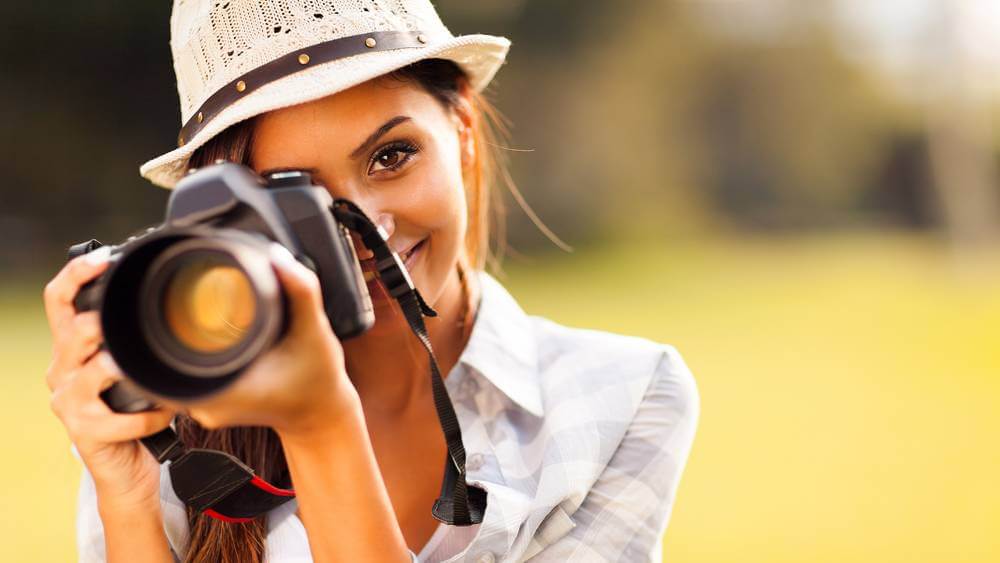
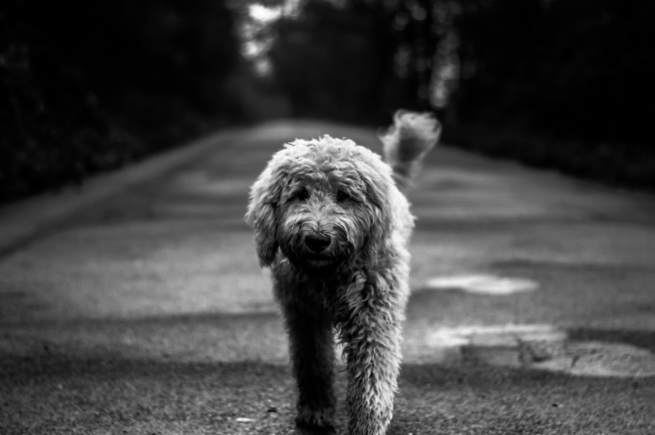
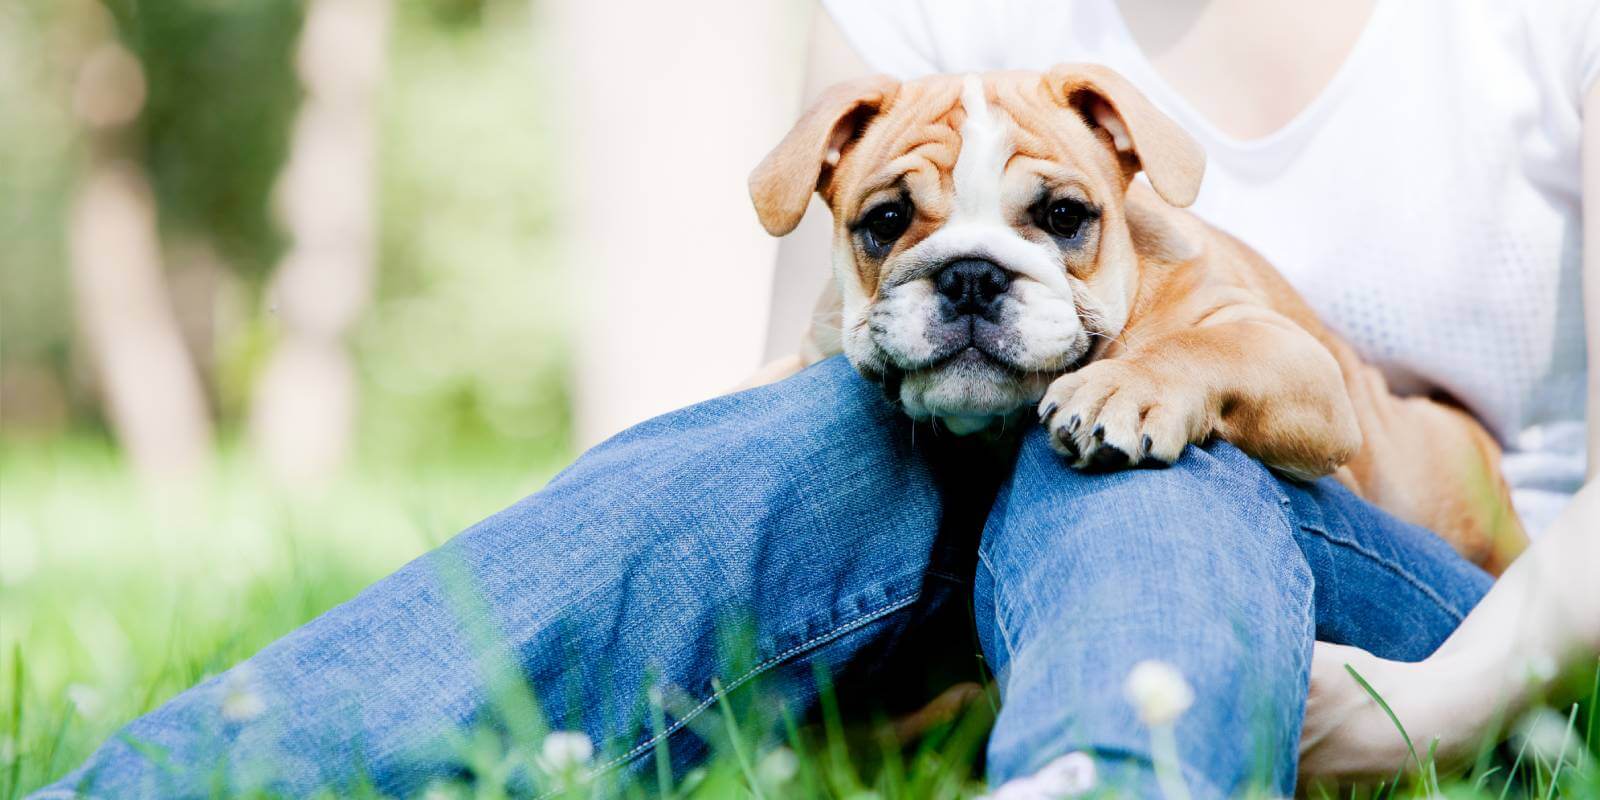
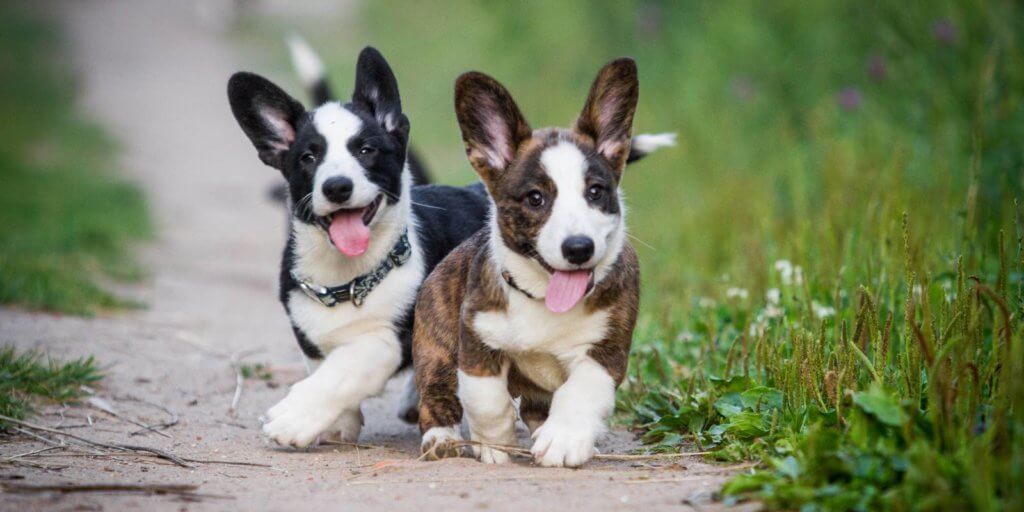
International Puppy Day—the perfect day to celebrate your furry companions and a great opportunity to share your favorite snaps of your pup—is fast approaching! And in true holiday spirit, we’ve pulled together some of our top tricks to teach your dog and take the best puppy photos. Share them with your friends online or display them at home to treasure for yourself—the choice is yours.

Easy Tricks To Teach Your Dog

Wondering what the best dog poses for pictures are? We’ve pulled together some of the best tricks to teach your dog, making for extra cute dog poses and the best puppy photos so that you can make your dog photography extra special for their big day. And remember, the trick is to always keep treats at hand to praise and reward their hard work!

“Sit”

First things first, you’ll need to make sure they know how to “sit”, if they don’t already. This pose makes for a smart and put-together snap of your pooch on their big day. Just follow these easy steps:

Stand in front of your dog and hold their favorite treat near their nose.
Keeping the treat near their nose, move it over their head in an arc movement. They will raise their head back to follow the treat and will end up sitting on the floor to accommodate this movement. Once they sit, praise them and give the treat!

Practice this regularly to get them used to the process.

Later on, add the verbal cue “sit” as they go to sit down. It’s important that you time it right, otherwise they may start to associate the cue with the wrong movement.

Eventually you will find that you can complete this trick without the need for a treat.

“Stay”

This trick is ideal for dog photography. Getting them to stay in one place will help you to get a still, clear portrait with minimal movement or blurs! Here’s what you need to do:

  1. Get them into the “down” position.
  2. With a treat at the ready, put up your hand in the “stop” sign with your palm facing them.
  3. Wait a few seconds before you give them the treat and say “stay” before you feed it to them.

Top tip: Only reward them with a treat while they are lying down, not if they have gotten up!

Regularly practice these few steps, gradually increasing the length of time that they are lying down. Start to increase the distance between you and them, taking one step back every few times you practice the trick. Eventually they should pick up the trick and will be able to perform it without a treat at all.

Don’t forget to practice in different pet-friendly places—at the park, in the garden, around the house—so that your pet can still perform the trick even when you’re away from home.

“Shake”

This trick makes for an adorable dog pose for pictures, showing off the relationship between you and your pup perfectly. But hold back from picking up their paw, as they’ll get there on their own. Here’s how:

  1. Sit them down in front of you and hold your hand out, with a treat enclosed in your palm.
  2. Let the pooch sniff or lick your hand to figure out what you’re after.
  3. Once they paw at your hand, open it up and give them the treat along with some praise.
  4. Repeat these steps until the dog is pawing at your hand consistently.
  5. You can now start increasing the difficulty and have your dog holding their paw on your hand for a longer period of time before you hand over the treat. Make sure that they know you want their paw on your hand. Taking the time to pause in that position will help them understand this. They will begin to realize that placing and holding their paw on your hand gets them the treat—not just scratching at it.
  6. Start introducing the verbal cue. So before their paw makes contact with your hand, say “shake”. They will soon start to make the connection between the behavior and the verbal cue.
  7. Now you can start to slowly introduce some gentle up and down movements—as if you’re shaking their hand.
  8. Repeat the previous steps until they’re completely confident in this trick.

“Beg”/“Up”

A cute dog pose makes for an even cuter photo. If your pup can master this trick, then you’ll get an unforgettable photo to show off this International Puppy Day.

  1. Get your dog to “sit” and hold a treat to their nose, giving them the command “beg” (or “up”).
  2. As they reach to take the treat, move it over their head so they have to reach up and get it.
  3. Then, move it higher until your pup is sitting up on their hind legs in the “begging” position. Once they’re up, give them praise and hand them a treat!
  4. Repeat these steps frequently so that they become familiar with the process and eventually learn to do it on command.

“Roll over”

This one may be a little harder to photograph in one image, but you can film a little clip to share with your friends and family. With a Nixplay Wi-Fi Frame, you can showcase your best dog photos and your favorite videos all in one place.

  1. Get your furry friend into the “down” position.
  2. Take a tasty treat and hold it at the side of their head by their nose.
  3. Move your hand towards their shoulder, which will encourage them to follow the treat and roll flat on their side.
  4. Repeat this a few times and give them praise every time they do it well so that they can get used to these steps.
  5. Once they’ve mastered the previous steps, with a treat, continue moving your hand from their shoulder to their back. They should then roll over to their back.
  6. Continue moving the treat so they roll over onto the other side.

Once your pup is confidently following these steps, start adding the “roll over” verbal cue. Eventually, you can reduce the hand motions and take away the treats, but they should be able to do this trick on cue!

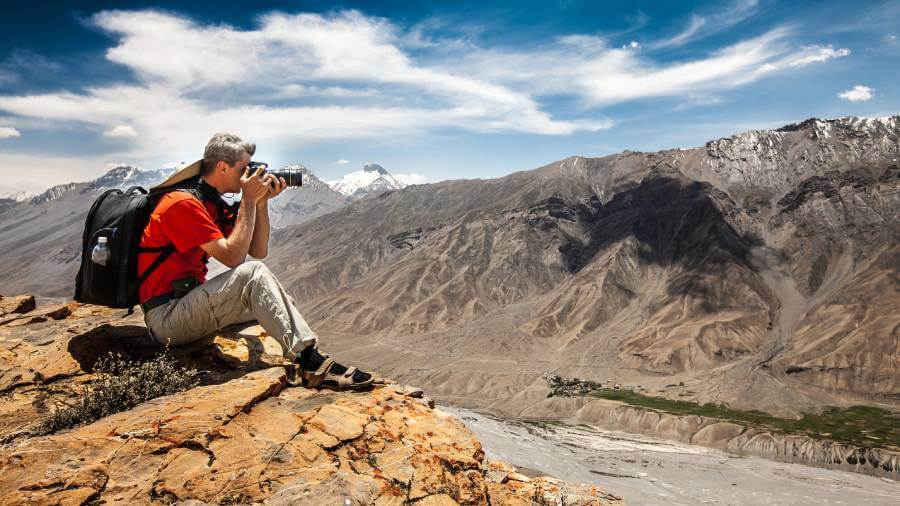
Our Top Dog Photography Tips

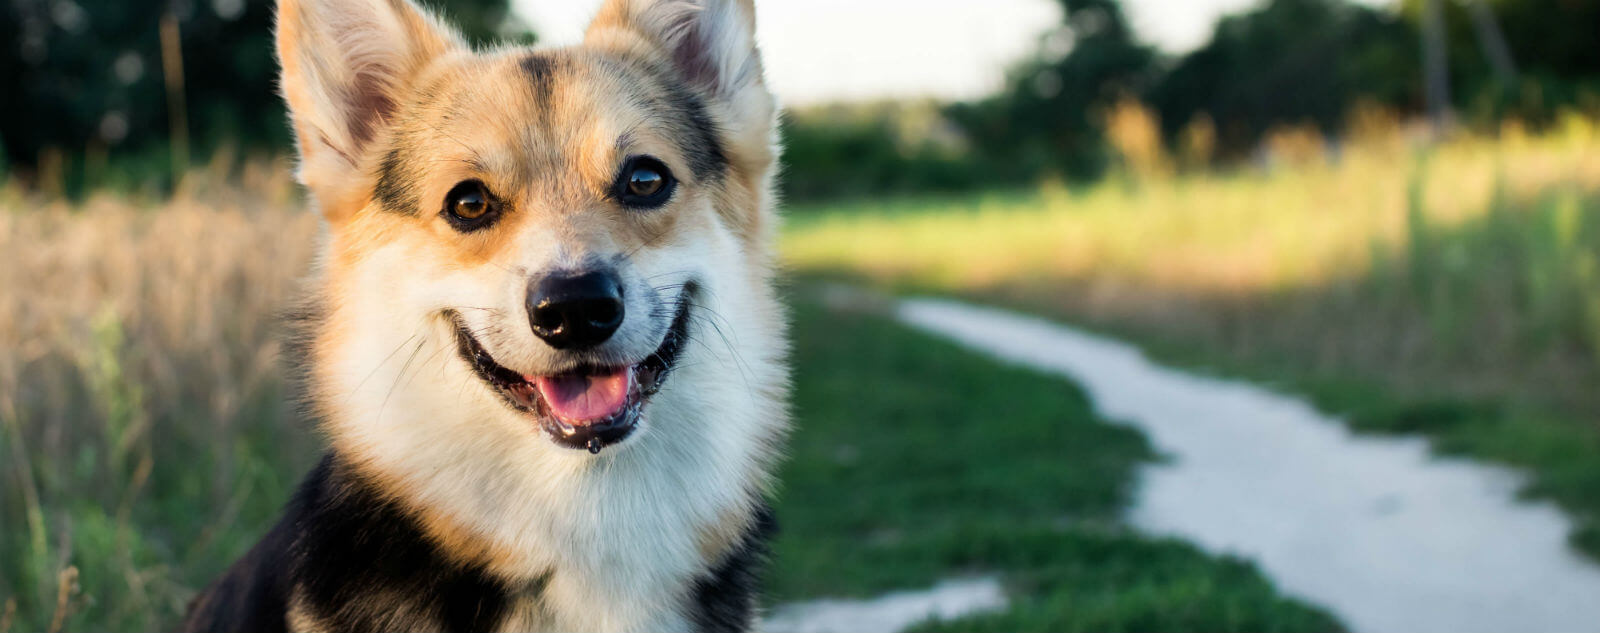
It can be hard to make your pup sit still when they’re full of excitement, but we’ve put together some of our top dog photography ideas to make sure you get the best snap of your pup for the big day.

  • Practice makes perfect. Even though it may seem hard at first, never give up.
  • Lose the flash. The bright light can be off-putting and damaging for their eyes. So to make sure you get the best shot, use artificial lighting to eliminate the need for flash photography.
  • Get down to their level. It will help them to feel less intimidated, as well as giving you an adorable close-up shot!
  • Get the best expressions. Use playful tactics to make them wide-eyed and super smiley, or get their ears to perk up for a great shot by making goofy noises.
  • Choose a faster shutter speed. This will help you capture a clearer image before your pup inevitably moves their head or body during the shot. If you’re shooting your dog photography on your phone, choose the burst mode to get a sequence of shots to choose from.

For more dog photography tips, read our blog: “4 Animal Photography Tips You Should Try With Your Pet”.

Showing Off Your International Puppy Day Snaps

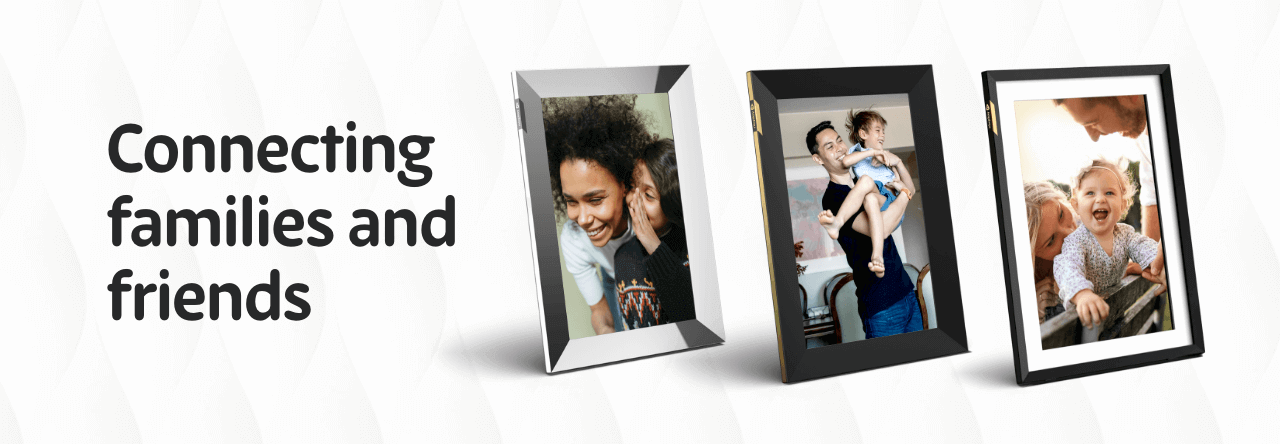
Once you’ve captured your best dog photos, it’s time to show them off to your friends and family! With a Nixplay Smart Photo Frame, displaying your favorite snaps has never been easier. Find your frame online today and make your house a home with personal and memorable photos that can last a lifetime.

Use the hashtag #InternationalPuppyDay when uploading your best puppy photos online and let everyone see your best dog photography skills – and browse through their snaps, too!

globosurfer guest blog

The Ultimate Guide To Nature And Outdoor Photography

If you love nature and wildlife photography, chances are good you have come across a picture that completely blew your mind at some point in your life. Maybe it was a close-up of an amazing plant you had not laid your eyes on before or an awesome shot of the sunset framed by mountainous terrain. Perhaps it was a stunning ocean view picture that got you wondering, “How the heck did they capture that?”

Well, the truth is, most of these impossible-to-believe shots are not easy to come about. Outdoor photography can be challenging because the subjects can be unpredictable. You’ve got to be prepared, practice a good deal of patience, and have some self-made luck. Nevertheless, we have prepared a quick guide for you to get a headstart. Ready?

1. Know Where You’re Headed

Is photography allowed in the area? Do you have to pay a certain fee to take photos? Are there dangerous animals that are likely to interfere with the process?

Even before heading out, do your homework. Get as much information as possible about the area you intend to get on film. Private lands may restrict photography or require you to pay a fee to shoot, so you may want to avoid these. Similarly, if you will be visiting an area with lots of wild animals, you need to bring your best zoom lens and be properly armed just in case.

Never head out clueless. You can never be completely prepared for all the challenges you might face outdoors, but knowing what to expect will help you stay safe and enjoy your expedition to the max.

2. Gear Up

…and do it right!

You don’t need the most expensive camera for hiking and backpacking, nor do you need the greatest telephoto lens to have breathtaking wildlife and landscape photography. Sure, these can be nice to own. But since you will be surrounded by charming and beautiful views, all that’s required are perseverance, patience, and image-capturing skills.

However, you still need to know what your kit can and cannot do to avoid disappointment. And aside from knowing where you are going, you’ll also need to know what you’ll be shooting. While there is no all-purpose lens that can cover every situation or secret formula to take the best shots, being well-informed will help you create stunning images.

If you think your day will end with a dive into the nearby lake, pack a waterproof camera so you can capture all the awesomeness of the underwater world. It’s also a great investment if you love fishing and would like to get some of those bass and catfish moments on film. That way, even if something goes wrong and the camera slips overboard, it won’t get damaged by water. You can also buy camera housing to better shield your expensive gadget from water damage.

As for what you should pack, extra lenses, memory cards, batteries, and a tripod are a no-brainer. For wild animal and bird photography, bring your best zoom lens. This will help you maintain a safe distance between you and the subject, especially if it gets scared easily. A macro lens, meanwhile, is perfect for capturing small creatures (like insects) and details. and make sure you have learned how each item works before heading out.

How about navigation? Here’s our tip: Don’t just rely on your GPS. Have a map and compass handy. You may also want to bring a flashlight just in case the night catches up with you in the woods.

Finally, don’t forget your selfie stick so you can take a picture of yourself hanging off a cliff or kissing a cuddly animal!

3. Pack Your Kit Properly

You may own the most high-end tools available for outdoor photography, but if you don’t know how to pack them properly, then your investment might just go to waste. If you are serious about taking your photo shoot to the wilderness, then you must invest in a bag that can carry your essential tools securely.

Look for a camera bag that straps snugly on your body. There are plenty of these in the market, with options available for every budget. Of course, the deeper your pockets are, the higher the quality of the camera bag that you can buy.

It would be wise to consider a bag that’s waterproof. The weather can be quite unpredictable out in the woods, and having a bag that doesn’t let water in will keep your photography gear dry and safe from the harsh atmospheric conditions.

Unfortunately, most of the water-resistant camera bags available today come with a high price tag. However, this should not discourage you from heading out when it rains. Any kind of weather can yield unique and fantastic photos. You can just grab a rain cover and wrap it around your kit carrier. And if you can’t get a hold of this either, even a trash bag can do the trick!

globosurf guest blog post

4. Dress For The Occasion

For your outdoor photography shoot to be successful, you must be comfortable in what you are wearing. And to dress right, you need to listen to what the weatherman says.

If you are hiking in cold weather, for instance, put on something warm. Good layering, topped with a fleece jacket, would be a great place to get started. Don’t forget a pair of gloves too! The last thing you want is your fingers being completely frozen that you can’t even press the shutter button.

Mind your feet as well. A sturdy pair of hiking boots will keep them warm, comfy, and protected from snow, water, rocks, mud, and creepy crawlies. If your feet get cold or uncomfortable, you will start thinking about aborting your expedition—exactly what you do not want.

Finally, it’s always a good idea to have a raincoat or a waterproof poncho in your bag. You never know when it’s going to rain!

5. Shoot Raw

Once you are on site, shoot in “raw” format so you can obtain the best quality and more powerful images. You can set your camera to this format to capture unprocessed photos straight from the image sensor.

While raw images usually take up more space on the memory card than JPEG files, they do contain a larger amount of pixels that allow for more room for adjustments during image processing.

6. Take Advantage Of Natural Light

Natural light is outdoor photography’s best friend. Your photos will look amazing in the morning when the sun rises, as well as in the late afternoon when the sun starts to set. the light during these “golden hours” has a mellow, foggy quality that illuminates your subjects beautifully and removes the harsh midday shadows. The golden hues from the rising or setting sun provide an emotional overlay to the images, giving them a spectacular look.

Don’t believe us? See for yourself and try shooting during sunrise or sunset, and at noon. You will clearly notice the difference in color temperatures and tones in photos taken during these times. Mornings are more preferred to evenings as photography areas are less crowded, and you won’t worry about running out of light. If you are shooting wild animals, this is also the time when most species are more active.

7. Show ‘Em Off!

You shouldn’t keep all those precious memories with Mother Nature to yourself! Share your pictures with your friends and relatives, post a few shots on social media, and get a frame to display your favorites.

Speaking of frames, a digital one will be perfect. A NIX frame will do things that traditional frames can’t, like displaying photos in a slideshow, shuffling, and playing HD videos. If you are looking for a way to smartly display and organize your photos, this is it. Just plug your camera’s SD card, sit back, and enjoy the show.

Sure, a digital frame could be a little pricey, but it is the most high-tech way to showcase your prowess in nature photography. Grandma will also thank you because she won’t have to keep going back and forth to your web page for photos!

Summing It Up

Outdoor photography can be challenging, but if done right, you can reap huge artistic benefits as well as spiritual and personal rewards.

Nature never gets old. There are endless opportunities to capture fantastic photos of the wilderness. Just make sure to do your research before you go, prepare the gear your need for the day, and know the perfect time to shoot.

Finally, don’t cancel your trip just because you think the weather would not be good. Good atmospheric conditions don’t always guarantee good shots, and you can get splendid images even in harsh weather. Just dress appropriately, protect your gear, and get going!

cute pet corgi dog animal photography on nixplay

4 Animal Photography Tips You Should Try With Your Pet

It’s said that you should never work with children or animals, and this certainly rings true when trying to conduct a photo session with one of your pets. You may know them and their behavior like the back of your hand, but when it’s time to look good in front of the lens, pets can be rather difficult to work with.

Here, we have compiled four animal photography tips that you should try with your pet. Let us know if they work!

1. Use treats

Although your dog or cat may have an idea as to what’s going on when you try to get them to do certain things, they definitely don’t understand the notion of “posing”, let alone animal photography. Because of this, the easiest way to get them to look in a certain direction is by luring them with treats or toys. They’ll be camera-ready in no time!

2. Play the waiting game

If you want to take a certain picture of your pet but they’re just not playing ball, consider simply waiting around nearby with a camera in your hands. You cannot communicate what you want your pet to do, and it may be a good idea to wait for them to “naturally” pose before taking that elusive picture.

If you’re taking part in a professional animal photography shoot, then the pet is likely to be excited or nervous at first, so be sure to remain patient and allow them to get the nerves out of their system.

cute pet corgi dog animal photography on nixplay

The nicest animal photography shots are usually taken at the most unexpected moments.

3. Use natural light

If you’re new to animal photography or just photography in general, you’ll quickly learn that natural light is one of the easiest and best light sources to work with. It’s especially nice when the daylight is naturally soft and diffused on a cloudy day, making for a pleasing picture. Windows and windowsills are also great for this purpose, as the glass tends to soften the daylight even further, making for a flattering photo.

4. Take notes from sports photography

When photographers are taking pictures of sporting events, they tend to use fast shutter speeds, burst mode, and continuous autofocus. Despite the fact that we’re talking about animal photography here, the ethos is very much the same.

A fast shutter speed (preferably at least 1/250) allows you to capture still-looking pictures of a pet that won’t sit still, while activating the burst mode means that you’ll take a flurry of pictures, at least one of which will hopefully be perfect. The continuous autofocus mode is designed to prevent your images from lacking sharpness, making your animal photography as hassle-free as possible.

Animal photography is no walk in the park, but with these top tips, you should be able to get that perfect snap in no time! Besides, taking photos of your cute companion will never be a waste of time. They love you unconditionally, and it’s nice to always be reminded of your furry best friend. Don’t forget to display your pet photos on your Nixplay Digital Photo Frame! Take advantage of our back-to-school sale and buy the Nixplay Seed 8-Inch Wi-Fi Cloud Frame to get up to 30% off!

Bea is Nixplay’s Social Media Manager. She enjoys drinking coffee, reading about wars, and writing stories. Send her a message at beatrice.bisais@nixplay.com.

5 Reasons to Try Black and White Animal Photography

If you’re a budding photographer, there are no limits to the camera skills you can learn. And when it comes to animals, the results can be truly mesmerising when working with different colors and filters. Whether you’re taking cute snaps of your puppy at home or you’re out in the wild shooting some candid animal photography, here’s 5 reasons why you should make the switch from color to noir. You might even learn some cool animal photography tips on the way!

1. It Helps You See Differently

Who says that everything always has to be colorful? With black and white effects, you’re capturing more than just a photo. But why does it work so well with our furry friends?
With animals, it can be tricky to portray the mood and feeling of a photograph. But by making the switch to black and white animal pictures, you can provide more emotion. The subtlety of tones that black and white images can have helps us to feel more connected to a subject over a colored version. This one simple color change removes any distractions, and helps the viewer to focus on other aspects of the photo, such as the textures, shapes, patterns and the composition. It’s just like magic!

2. It’s Timeless and Classic

Black and white takes everything back in time, and is still looked at as the purest form of photography by most professionals.
Another reason to give black and white animal photography a try is that the black and white effect is timeless and elegant. This impact completely transforms your photos, and might even spark ideas for the future. After looking at animals through the black and white camera lens, you won’t want to look back.

3. It Tells a Story

Our whole world is in color, so it’s easy to see how colored photography depicts a more realistic view. But when you experiment with black and white tones, your work can be viewed as a rendition of reality – or how you interpret what you see. This helps you to explore a subject more and create different ways to tell a story. If you’re working on wild animal photography for example, you can’t rely on movement, position, angles or expressions for the best visuals. In this scenario – and any other animal photography scenario – pictures really do paint a thousand words. And when you take away color, you’re encouraging viewers to discover the stronger, more powerful elements of the scene.

4. It Makes You More Creative

Photographers are always looking for fresh new ways to enhance their camera skills. But when you’re shooting with animals, it can be a challenge to make the most of your talents, as you can’t afford to be picky about lighting, camera angles or positioning – and it’s not like we can ask them to sit nicely and smile for the camera! With black and white animal photography, you can still capture something that gives you a bit more creative edge, even if the shot is a little blurred and they’re not directly looking at the camera.

5. It Makes Candid Animal Photography a Breeze

Have you ever tried to take a photo of an excited little puppy that just won’t stay still? Or a beautiful, majestic bird nestled on a tree who flies away as soon as you press the shutter? Working with animals isn’t a walk in the park, but this is where candid animal photography really shines. With a candid, you want to make sure that your subject is in its natural element and living in the moment – which is all you really can do with animals. But when you’re aiming for the best black and white animal photography, try introducing a prop or getting more of a landscape view. That way, the candid is made up of several other elements that a viewer can focus on without the distraction of color.

<h2>Black and White Animal Pictures: Nixplay’s Favorites</h2>
Are you a budding photographer? And an animal lover? If your answers to both are yes, our hand-picked selection of gorgeous black and white animal pictures is perfect for you. Look through them below for some inspiration and ideas!

When you’ve achieved the perfect visual masterpiece, you’ll want somewhere just as perfect to show it off. Check out our range of Nixplay Smart Frames for a unique spin on displaying your photographs.

Kitten animal photography

cat – pexels

Horses black and white animal photography

horses – pexels

Wild animal photography

monkey – pexels

Dog animal photography

dog- pexels

Elephant black and white animal photography

elephants – pexels

Black and white lion photograph

lion – pexels

Raccoon black and white photography

raccoon- pexels

Lemurs black and white animal picture

lemur – pexels

All pictures selected are free to use and download. Feel free to upload them on your Nixplay Frame!

Bea is Nixplay’s Social Media Manager. She enjoys drinking coffee, reading about wars, and writing stories. Send her a message at beatrice.bisais@nixplay.com.

Powered by WordPress & Theme by Anders Norén