Tag: images

Valentine’s Day Photography Ideas

How To Make Your Valentine’s Day Photos More Interesting

Valentine’s Day is almost upon us! We’re sure you already have most of the day’s essentials: A great dining destination, a gift, and loved ones to spend the day with.

But wait—you might be forgetting something. Whatever your plans for Valentine’s Day involve, you shouldn’t forget to take pictures! Make sure to have lots of space on your camera or phone, for you’ll surely be capturing so many photos.

But this year, you should strive to make your Valentine’s Day photos more interesting. Here are some easy ways to do so.

Make your flatlays more romantic.

You’ll probably be taking photos of your Valentine’s Day dinner—as you should, on such a special day. Make sure your special meal reflects the romantic air of the holiday by adding heart-shaped elements to your place setting. Consider heart-shaped coasters or placemats, maybe even a heart-shaped plate! You can also sprinkle rose petals or paper heart cutouts on the table.

Capture the tender moments.

Valentine’s Day is all about romance, so take this chance to capture all the precious moments you’ll share with your loved ones. Each stolen gaze, every tender embrace—they all mean so much more on Valentine’s Day. Even the simplest and silliest moments hold more significance on this special day. Go out, be happy, silly, and be yourself with the one you love.

Use props.

Planning a photo shoot? Don’t forget to stash some cute props! Get a bunch of red heart balloons, have a bag of candy hearts on hand, and play around with flowers. It’s easier to relax and act more natural in front of the camera when there are things you can play around with. These add a fun touch to your photos, too!

Use rose-tinted glasses…or rather, filters!

Your photos should evoke the thrilling romance of Valentine’s Day, and an easy way to go achieve this is to stick to a soft pastel-colored palette. Don’t be afraid to be a bit heavy-handed when color-grading your photos, and bathe your images in a rosy glow. If you’re posting on social media, it’s a good time to add filters to your images.

Make heart-shaped bokeh

Feeling a little creative? If you have a DSLR camera, a wide-aperture lens with a lens cap, and a string of lights, you can add cute heart-shaped bokeh to the images you capture. Get dark paper, a cutter or a pair of scissors, and some tape. Lay your lens cap on the paper, draw a circle around it, then cut the circle out. Next, cut out a heart in the middle of the paper, then tape it to the end of the lens. Now, use your camera’s manual mode, and set its aperture to its widest opening. Set your shutter speed to 1/60th, and set your ISO to 400. String up your lights in a darkened room, and focus—every light should produce a heart shape.

Don’t forget to display your images on a Nixplay Frame! Nixplay is having a Valentine’s Day sale, and take our word for this: It’s the best time to get a frame. Take this chance to get the Nixplay Iris at up to 25% off, only until February 14!

blurb photobook

How to Make a Great Photo Book

Many people who dedicate their time to making photographs also devote time for printing those images. Photo books have always been considered the ultimate final statement when it comes to showing off one’s images. But how do we make great photo books? What are the main ingredients? What about tips or secrets?

For us, it all begins with having fun. Compiling a photo book is one of the most entertaining things you can do, but the idea of doing so can sometimes seem daunting. This thought can lower the activity’s level of fun. In this case, remember to focus on the spirit of print, even if you aren’t entirely sure about every single detail.

What Do You Want to make?

Do you want to create a travel book? A portfolio? A catalog? A cookbook? Defining your project is a quick way to establish your basic needs in terms of size, page count, design, and other aspects.

Next up is the edit. Editing is truly an art form and something that can take a good book to greater heights. Think of editing as doing a giant puzzle: Start with the edge pieces first, those images that contain critical moments or information, and gradually allow the reader to fully understand what it is you wish them to experience.

Organize Away

Once you have chosen the images, it’s now time to arrange them in order. Sequencing images for a photo book is the secret step that many beginner bookmakers overlook. This of this step as the construction of the roller coaster ride you are asking your readers to undertake.

Next up is the cover. But don’t feel pressured to create the cover first. Sometimes the book needs to play out a bit before what makes sense on the cover becomes apparent. and just because you have a favorite image, doesn’t mean that picture should be on the cover of your photo book. What if your favorite photograph carries more weight when placed at the end of the book?

Be Consistent

Borders, number of images per page, image size–staying consistent with these small details allows the reader to engage with the flow of the book. You can throw in a surprise now and then, but overall consistency leads to readability.

When your masterpiece is complete, get a second opinion. Another set of eyes can save you from yourself. That image you love in your heart might not resonate with anyone else, and a trusted friend or editor can add insight and offer suggestions without damaging your feelings.

Hit Print

Don’t be afraid. Use a reputable printing service like Blurb so you know your photo book will be in good hands. The beauty of Blurb is that you can order ONE copy at a time, and that copy can remain private until you are ready to unleash it on the world. Now, all you have to do is wait–and trust us, there is still nothing more exciting than receiving a new book on your doorstep. Good luck making your photo book, and have fun!

nancy mcfarland APPO nixplay save your photos month

Meet A Professional Photo Organizer: Nancy McFarland of SoCal Photo Solutions

Nixplay has partnered with the Association of Personal Photo Organizers (APPO) for the Save Your Photos initiative, a public service outreach campaign that teaches individuals how they can preserve life’s irreplaceable photos, videos, and documents in case of an unforeseen accident or disaster. Visit the Save Your Photos website for more information.

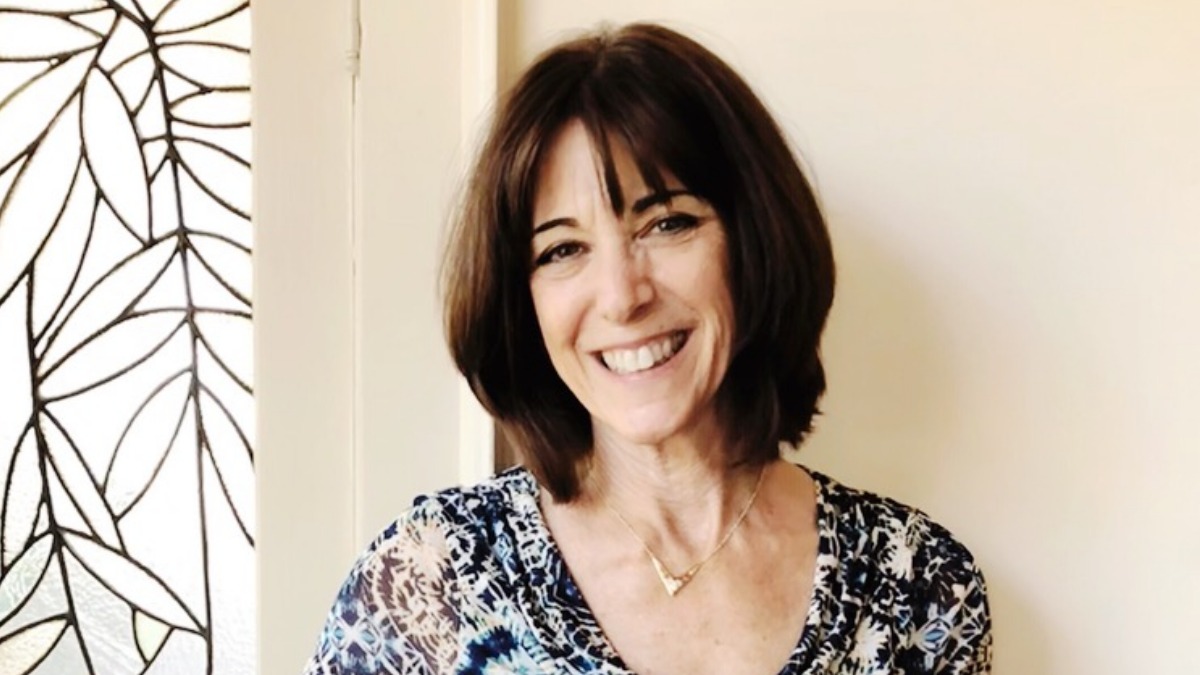
We’re ending Save Your Photos Month on a high note with an exclusive interview with Nancy McFarland, the woman behind SoCal Photo Solutions and a founding member of the Association of Personal Photo Organizers (APPO). Nancy has been a professional photo organizer since 1995, and she can be counted on to help you tell your unique family stories through your photos, videos, and other memorabilia. Whether you’re thinking of starting a career as a professional photo organizer or just want to learn how to organize your images in a better way, you’ll definitely learn a lot from Nancy. Read on!

How did you become a professional photo organizer?

“Very good question. I had a scrapbooking business—many people started this way. I found that my favorite thing to do was to help people get their photos organized in order to get them into the album, and I would help them for hours and hours for free.

And I realized that that was the part of my job that was really the most significant, and which I had the most talent at. I started charging for that service, and I found this little niche that I’m very good at.”

Nancy McFarland main image


What is your photo organization process?

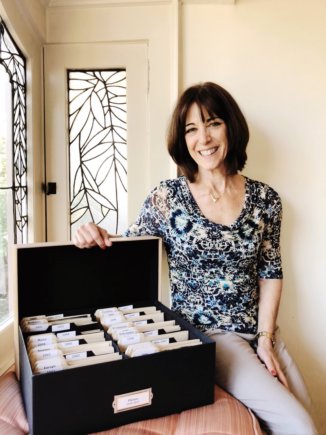
“The first step would be to gather all the photos into a central location because most people have photos all over the place. They have it in the closet, in the drawer. So the process from there would be getting rid of the doubles. They all have photos of, say, a baby, and they take ten pictures of the same baby. It’s about getting all the extraneous photos to get to the most important ones that you care about, that are worth saving, preserving, and enjoying.

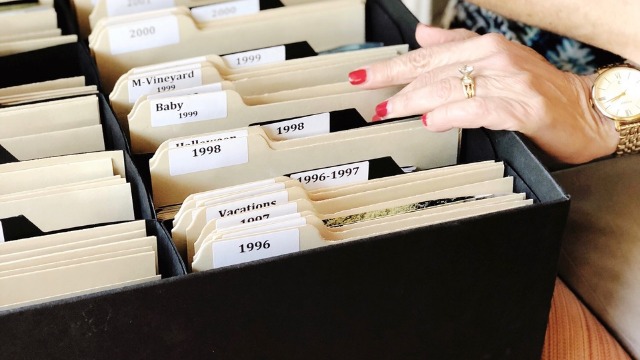
Then comes the organization part, and that is so personal to whoever I’m working with. Some people think chronologically, year by year, and some people want them organized by child or by theme, which is really much easier to do with a large collection. Like, here are all the Christmas pictures. Here are all the birthday pictures. Here are all the ancestors. Do a very broad sweep and not focus on the details. So you can get through to all of them.

nancy mcfarland photo box for nixplay

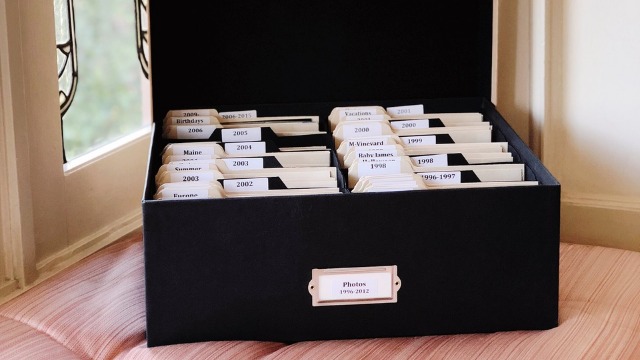
I like to find out from my clients where they would think to look for the photo. For a picture of a vacation that she took in Italy with her husband, is this going to go in the year wherein they visited Italy? Is this going to go in a separate travel section, and then Italy? So if she needs that picture, she can find it quickly.

The next step is answering how they plan to enjoy their photos. Scanning is a process that we do here, and we do it in-house. So it’s up to the people to send it out, but we have all the scanners and facilities to do that here. And we have lots of different scanners. We have slide scanners, and we have high-speed photoscanners, we have scanners that can do larger photos, and stitching programs for if they have scrolls or very large photos. You can scan into smaller pieces and stitch them together so it looks like a line.

Now, what do they want to do with the scanned photos? That’s where Nixplay comes in, so now they can enjoy the photos on a digital frame they can look at anytime. It’s one thing to scan them and put them on a flash drive, but enjoying them is another matter.

What’s the most challenging part of your job?

“It’s very focused, and I really can only focus for three or four hours. After three to four hours, you see the clients’ eyes rolling back in their heads. Ýou can’t do it for eight to 10 hours a day. You have to take a break, you have to step away. I guess that’s the most difficult. It’s very focused and concentrated, and so it requires all your concentration and energy, so you can’t do it for that long all a time.

What’s the most fulfilling project you’ve managed?

“So I organized this woman’s photos of her and her children, and then she brought out the heritage photos and she didn’t know who the people were. And so she brought her mother in to help us. Her mother lives in an assisted living home, and she kind of apologized beforehand since her mother was becoming forgetful. But we had the best time. We got to chat and she told us stories about her boyfriends and her childhood, stories that my client had never heard before. 

nancy mcfarland photo box for nixplay

While she was looking at the pictures, it was just spurring all these memories that came up. Maybe she couldn’t even remember if she had breakfast that day, but pictures go to a different part of your brain. The long-term memory is not in the same place as your short-term memory, so people with Alzheimer’s, who have memory loss—she remembered her address from childhood. So it was amazing. When we were done, my client called me up the next day, and she told me, ‘I have not had that much fun with my mom in so many years.” That was just really memorable, special to me.”

What’s your advice to people who’d like to start organizing their own photos?

“The hardest thing about the whole process is to just start because most people say it’s a ‘someday’ project. They say, ‘oh, I meant to do this someday.’ So I think the most important step would be to start.

It doesn’t really matter how you start. You don’t have to start at any timeframe. Pick a box, any box. If you happen to know your most important pictures, that would be the best. Pick out the milestone pictures first. If you happen to know where those are, great! If not, just start.”

Interview has been edited for brevity.


Nancy McFarland, founder of SoCal Photo Solutions has 25 years’ experience working with people who are overwhelmed with their printed & digital photo chaos.  She organizes, digitizes and archives family photo collections offering personalized photo solutions for creating a family legacy.

Powered by WordPress & Theme by Anders Norén