Category: Photography Page 2 of 24

Tips and guides for readers who want to take better photos to display on their Nixplay Frames.

Organize and digitize your photos with Nixplay

Caren Osborne’s Latest Photo Organizing Project

It’s been a tough few months for everyone, but things are finally starting to reopen, and people are moving around a bit more. I drove down to North Carolina recently to spend ten days with my daughter, son-in-law, and grandchildren. The drive was a bit surreal as there was no traffic, so I made it all the way from eastern Connecticut to Chapel Hill, North Carolina in 10 and a half hours! I had a wonderful visit and, while there, I found a beautiful new home close to my family. For the next few weeks, I will be putting my business on hold while I organize, pack up and move.

digitized photos

Organizing and Digitizing my Late Husband’s Photos

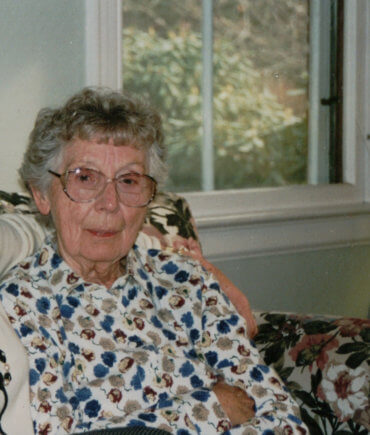
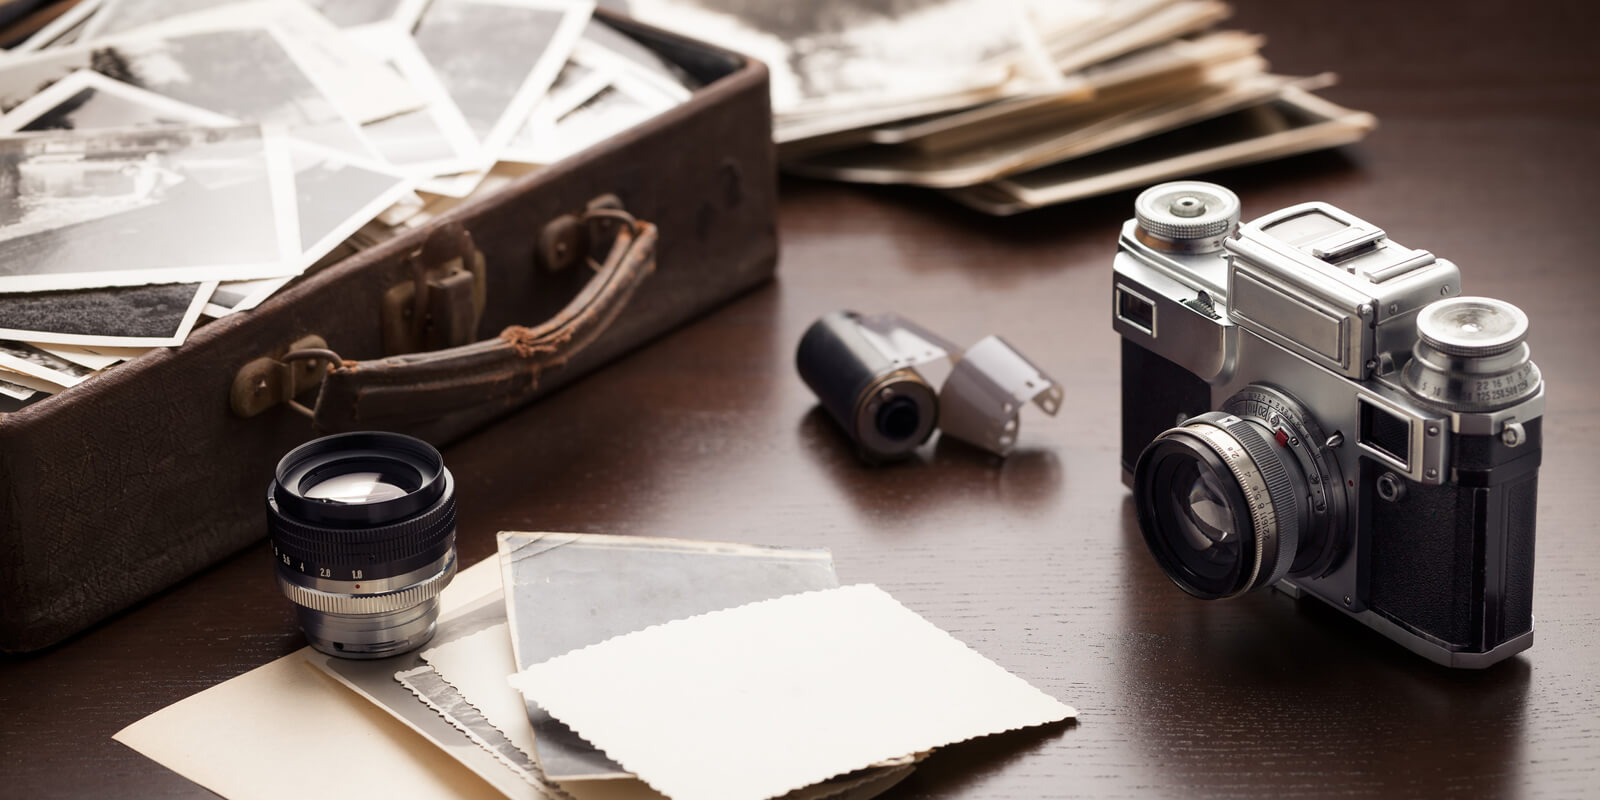
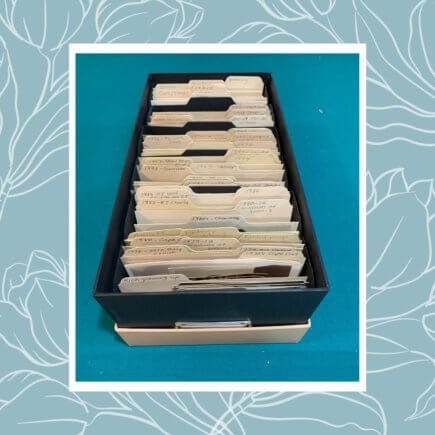
My latest photo organizing project has been going through my late husband’s photos. There was a box stored under the pool table (that we don’t use) labeled “Rick’s photos”.  He and I had started going through it a couple of winters ago, but never finished. With his passing, I now wanted to take the time to sort and organize all of those photos to preserve them for myself and his family. It turned out that a lot of the photos were actually his mother’s and sister’s, so I put those aside and gave them to my sister-in-law to sort through herself. For my husband’s photos, I organized them by date when I could and the rest by subject – such as vehicles (he was into classic cars and restoring Jeeps and trucks), family, boats (he had a lot of those over the years too), pets, and photos of the two of us.

After I finished sorting and organizing the photos, I then digitized them so that they can be preserved and treasured for many years to come. To give our families the chance to re-live their memories, I’ll also be putting them into a Forever account so they can view them and add their own comments. I wish I had the opportunity to finish organizing the photos with Rick, because I’m sure there are some wonderful stories that go along with many of them. More emphatically than ever, I advise everyone to take the time to record the stories that go along with each photo – before they’re lost forever.

organized photos

Using a Nixplay frame to digitize and display photos

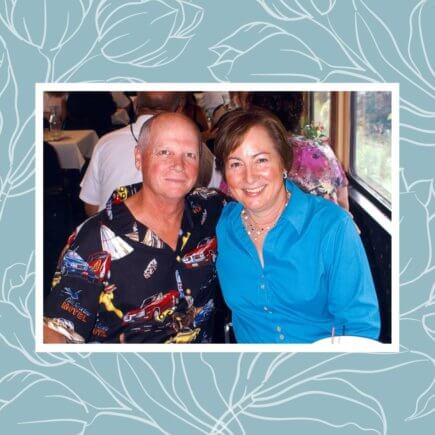
After spending some time looking back at all these special moments, , I went through the digital photos on my computer and phone, and identified all the special ones of Rick over the years. I have been very diligent over the past 15 years in organizing my digital photos, going back to the ones I took with my digital cameras, by date and subject, so it was easy to find the ones I wanted to pull out.

My next step in this photo organizing project was to go through my traditional paper scrapbook albums that I have created over the past 22 years, pull out the special photos of Rick during our many adventures, and digitize them to add to my collection.

Finally, I’ll be creating a few collages from the scanned photos to be used as memorial boards for his funeral and adding all of our photos to my Nixplay digital photo frame which will be on display after the funeral at our house for family and friends to view. My goal is to eventually create a book celebrating his life to be able to preserve his story for myself, his daughter and his grandchildren.

Organize and digitize your photos with Nixplay >>>

Caren is passionate about preserving photos and stories for her daughter and grandchildren. It is this passion that she brings to her clients as she assists them with preserving their photos and their stories to enjoy now and for future generations.

September is Save Your Photos Month

September is Save Your Photos Month

Every September, Photo Managers, photo retailers, software companies, and service providers collaborate in teaching people how to preserve life’s irreplaceable photos, videos, and documents.

Why do you take photos?

If you are wondering why this is important, ask yourself: Why do you take photos? How would you feel if you suddenly lost them? Can you easily find an image of your daughter’s first birthday or a picture from your high school graduation?

If you are like most people, your reason for taking photos is to remember your life’s everyday events. I always say we are a people of stories, and the way we tell the stories of our lives today is through photos. And when our pictures are an unorganized, chaotic mess, sharing those stories becomes a tough job.

What do you see?

What do you see when you look at this photo? An elderly woman?

I see the woman whom my family affectionately called Aunt Izzie, a German immigrant who came to the USA after World War II. She came here as an indentured servant, working for a family that was cruel to her. It took her four years to pay for her freedom. Only then was she able to marry my grandfather.

Listening to her stories of surviving the war—the hunger, the fear, the incomprehensible losses—impacted me deeply as a young child and likely contributed to my lifelong fascination with stories and photos. It is vital that my children, and someday their children’s children, know these stories and understand their family’s history.

I know most of your photos and stories aren’t about war heroes and tragic losses. Neither is mine. They are mostly a collection of ordinary moments of vacations, celebrations, love, and loss. But these moments are worth preserving too, as they form the threads in the colorful tapestry that is my family’s story.

I have made it my life’s mission to help people around the world preserve their most treasured memories. This is why I founded The Photo Managers: To educate others about the importance of preserving their photos and videos.

Over 40 Free Virtual Classes On Photo Preservation

We hold Save Your Photos events every year to help motivate you to save the photos and stories you care about. In the past years, we had in-person events, but this year, we are going all virtual due to the pandemic. We are thrilled to offer over 40 pre-recorded classes designed for a busy lifestyle. Every week, beginning on September 1, we will release the courses that apply to one of the five key photo organizing elements.

Register for your free pass and choose the classes that interest you. The free pass offers access to all of the classes. Click here to get your Save Your Photos Month Free Pass.

Classes are available through November 1st, 2020. We’re looking forward to seeing you there!

Cathi Nelson, author of Photo Organizing Made Easy; Going from Overwhelmed to Overjoyed, is the leader of a global photo organizing movement. A cutting-edge entrepreneur and speaker, in 2009 she founded The Photo Managers, the leading organization serving entrepreneurs through training, a professional certification program, best practices, and a code of ethics that sets high standards for the rapidly growing photo management industry. She’s built a worldwide community and organization around supporting people in creating thriving businesses doing work they love. She’s been featured in the New York Times, The Atlantic, Real Simple Magazine, and The Wall Street Journal about how to organize and preserve the legacy of your family heritage through photos.

how to make a photo journal

How To Make A Photo Journal

We take lots of pictures using our smartphones and digital cameras, and while they’re convenient, you have to ask yourself: when was the last time you took a moment to actually enjoy them? We’re guessing most of your photos are stored in a forlorn folder in your computer, left unseen for months or even years. It’s a sad thought, isn’t it?

Creating a photo journal should remedy this. The process of making a photo journal will force you to make the most of your photos while flexing your creativity. Plus, it’ll serve as a reminder of the good times you’ve had and will make you hopeful for better things to come.

Want to learn how to create a photo journal? Follow these steps to get started.

Decide on a theme

Don’t enter a battle without a strategy! Before you start, decide on the memories you want your journal to hold. You can place photos from a certain time period, create a photo diary for every day of the month, or simply highlight a particular vacation. This will inform the rest of your journal process, so decide wisely.

Choose A Quality Notebook

First Things First: You’ll need to decide on the right notebook for your project. Choose one with the right size, binding, number of leaves, and paper style (blank, lined, or grid) for your needs. You should also think about the cover–will you be happy with the original cover, or are you planning to decorate it to better fit the planners’ contents? Finally, consider the paper’s quality–you’d want a notebook with paper thick enough to stick printed photos on while being smooth enough for writing.

Print Your Favorite Photos

Now here’s the fun part: Choosing and printing the photos that will go in your journal. Since you have limited space, prioritize your favorite images. Play around with the size of your prints to add variety: choose larger sizes for your most memorable shots, interspersed with smaller-sized photos.

If you have a Nixplay Frame, you can easily print your photos using the Nixplay App. Just select Fuji Prints to see all the available printing options, select the products you like, and you’ll get your order within a few days. Creating your photo journal has never been so easy!

Download or Update Your Nixplay App Today! App Store | Google Play

Add Captions

While we believe that a picture can say a thousand words, it wouldn’t hurt to write more details to add color to your memories. Add captions about the people you’re with, write descriptions of the places you’ve visited, jot down some musings about your most memorable moments. Trust us: In the future, You’ll be glad you took the time to do so.

Decorate Your Journal

Spruce up your photo journal with some decorations! You can add stickers and stamps, tack on memorabilia like tickets, notes, and maps, and paste cut-outs from magazines or newspapers. The sky’s the limit!

Photo by alexandra lammerink on Unsplash

Marianne is Nixplay’s Web Content Editor. Her hobbies include exploring new places, playing table tennis, and cuddling puppies. Send her a message at marianne.salazar@nixplay.com.

how to take selfies like a pro

5 Easy Tips for Taking a Selfie Like a Pro

Having a presence on social media is something most people put a lot of stock in. If you are trying to land a larger following, putting out new content on a regular basis is imperative. When trying to interact on platforms like Instagram, you need to ensure you have plenty of visual content. Pushing your personal brand is easy if you invest time and effort in developing great-looking selfies.

A recent study found that over 93 million selfies are taken on a daily basis. With all of the different selfies, it can be hard to garner attention on social media. This is why your main goal should be to take selfies like a pro. Luckily, there are a number of useful selfie tips that can help you up your selfie game. Below are some of the things you need to do to make your selfies look more professional.

1. Invest in a Bluetooth Remote

Getting a professional-looking selfie is a lot harder than you probably realize. Rushing through the selfie-taking process can result in a number of mistakes being made. Having the right equipment is imperative when attempting to get a great looking selfie. The main piece of equipment you need to accomplish your selfie goals is a Bluetooth remote.

These remotes allow you to control exactly when the selfie is taken. This means you will have plenty of time to adjust your shot to ensure it is appealing. If you want to avoid buying a Bluetooth remote, you need to explore the timer feature on your phone. Many modern smartphones have these timers. However, each one is different. This is why taking the time to practice with your timer is so important before attempting to use it for a selfie you publish on social media.

Source: Pixabay

2. Learn How to Hold Your Phone

Newcomers to the world of selfies fail to realize that the way a phone is held during the picture taking process makes a big difference in how the picture comes out. If you fail to hold your phone correctly, your selfies will look blurry and low-quality. One of the most popular methods used by selfie enthusiasts is to hold their phones at a 45-degree angle. With this angle, you will be able to hide any unsightly chin fat that may be present.

You also need to focus on bringing your phone closer to your face. The further your phone is from your face, the harder it will be to get a high-quality selfie. As time goes by, you will find your selfie sweet spot. The key to finding this sweet spot is practicing as much as possible.

3. Telephoto Lenses are a Great Investment

One of the biggest problems you could encounter while taking selfies is photo distortion. In some cases, this distortion is unavoidable due to the quality of the camera on your phone. If you are constantly dealing with low-quality selfies, you need to consider investing in a telephoto lens for your phone. These lenses are both affordable and easy to use.

With the right telephoto lens, you can take advantage of the shallow depth of field they offer. The shallower this depth field is, the lower the likelihood of blurs occurring will become. Before buying a particular telephoto lens, look at the reviews it has. Generally, you can tell a lot about a particular lens by looking at the experience others have had with it.

4. Getting Your Lighting Right

If you want to create professional-quality selfies, you have to get your lighting right. Taking a picture in light that is too bright will wash out all of the color and definition. On the other hand, selfies taken in low light are hard to see and very unappealing. If at all possible, you need to use natural sunlight to bring out the definition in your photos.

There are also a number of standalone lights that are available for cell phones. The money invested in this equipment will be worth it considering the increase in selfie quality they will provide.

Source: Pixabay

5. Get Your Selfies Noticed

Taking a professional-looking selfie is just the first step in getting noticed on social media. You also need to focus on properly tagging your photos. The tags used in your social media posts will dictate how much traction they get. Using unique captions and popular hashtags can help you reach a wider audience. Finding the right captions and hashtags will require lots of research. If you don’t have time to do this type of research, hiring a social media professional to assist you is a good idea.

Start Snapping Selfies Today!

Now that you know more about how to take professional-looking selfies, it is time to get to work. The more selfies you take, the easier it will be to create unique and appealing photos.

Wendy Dessler is a super-connector who helps businesses find their audience online through outreach, partnerships, and networking. She frequently writes about the latest advancements in digital marketing and focuses her efforts on developing customized blogger outreach plans depending on the industry and competition.

Page 2 of 24

Powered by WordPress & Theme by Anders Norén