Tag: photography tips Page 1 of 2

Role As A Photo Organizer

The Life of a Photo Organizer: Jodi Bondy

Nixplay has partnered with The Photo Managers for the Save Your Photos initiative, a public service outreach campaign that teaches individuals how they can preserve life’s irreplaceable photos, videos, and documents in case of an unforeseen accident or disaster. 

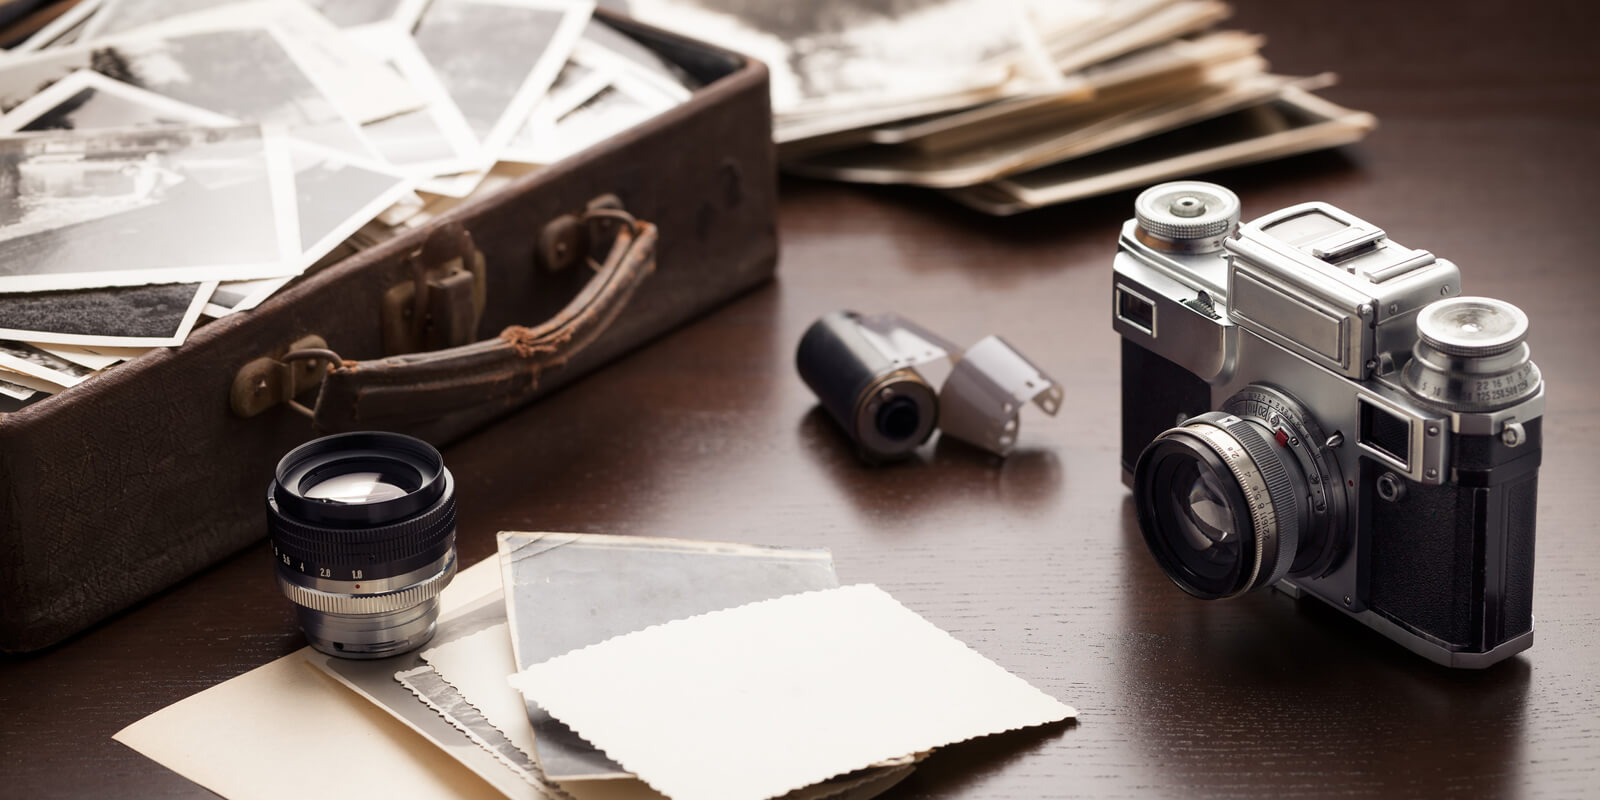
As a Certified Professional Photo Organizer, I get to see some pretty cool things. Family memories on print or film, long lost memories buried in a box or trunk, and huge smiles when a project all comes together. I love mystery and, often, that’s exactly what I face when working with a client. This crazy pandemic that we’ve been dealing with for 6 months has caused many folks to start digging through those old boxes and storage bins they have harbored for years. 

So just what’s in there?

Certified Professional Photo Organizer

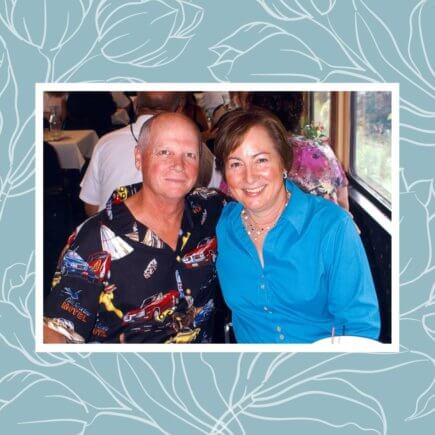
Many people are finding photos of their immediate family — fun 70’s bell bottoms, 80’s hairstyles, and the like. Others are uncovering the vintage photos they inherited from their parents or grandparents. They were always going to do something with those when they got them.

Role As A Photo Organizer

As a Photo Organizer, I’m able to coach or facilitate the process. Dealing with your own clutter can be overwhelming, so bringing in a neutral party will allow you some clarity to make decisions on what you can do with these newly discovered treasures. 

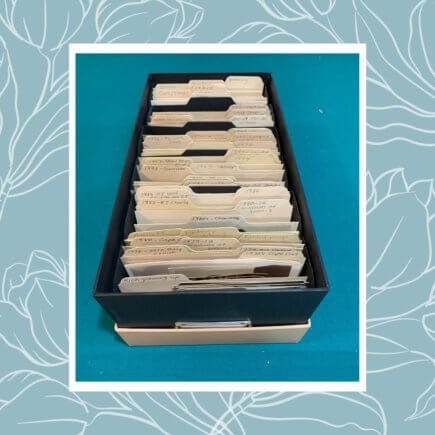
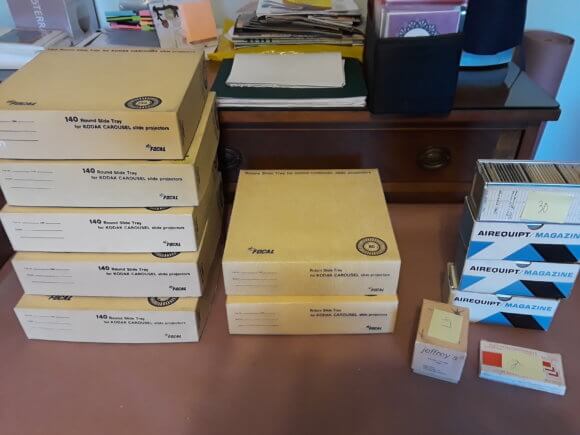
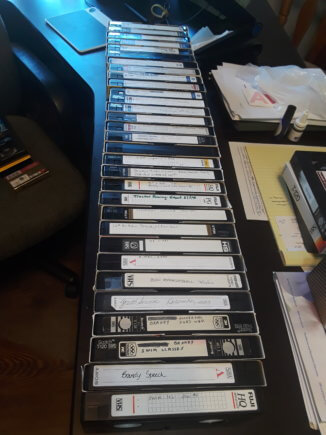
I met with a client once who probably had 6 big plastic storage totes, several cardboard bank boxes, a scattered mix of flash drives and even some old floppy disks! As I started to empty the boxes, I found there was no rhyme or reason as to what’s in the box. There were loose photos, framed photos, VHS tapes, partial scrapbooks and photo albums. You name it. First thing I assured my client was that whatever I found, I would protect her privacy and would not share with the world any items I may find that might be considered “sketchy”. Think HIPAA that you sign at your doctor’s office.

We started making piles of “like stuff”. If we knew which side of the family or which person was the main focus, we even separated out to that level. I had piles all over the floor and chairs! We emptied the boxes and took those out of the room, at least temporarily. 

Organizing loose photos, framed photos, VHS tapes, partial scrapbooks and photo albums

The ABC’s of Photo Organizing

Once the tubs and boxes were empty, we started with one pile and proceeded to follow the ABC’s method that most professionals use — “A” stands for photos that would be ALBUM worthy. These are the ones you would want to showcase. “B” stands for BOX. These items may have a very cool story attached to them and there may be no other evidence of the event (remember we basically took photos blindly back in the day and hoped we got some good shots). These will be stored in archival safe boxes in case there is ever a need for these in the future. “C” are the photos that can be put in the CAN. The trash can, that is.  Duplicates, blurry, no heads, etc. We all have them.  Even some landscape photos – if there are no people in these. I can tell you Google has a much better photo than the one you took! Then finally, we have the “S” which stands for the STORY. You need to have people write down the story that expands on why the photo is so important. Videos and other media take a little more time because you need to figure out what is on them, get them converted to digital and store them on a device that will be usable in the next several years. 

The ABC's of Photo Organizing

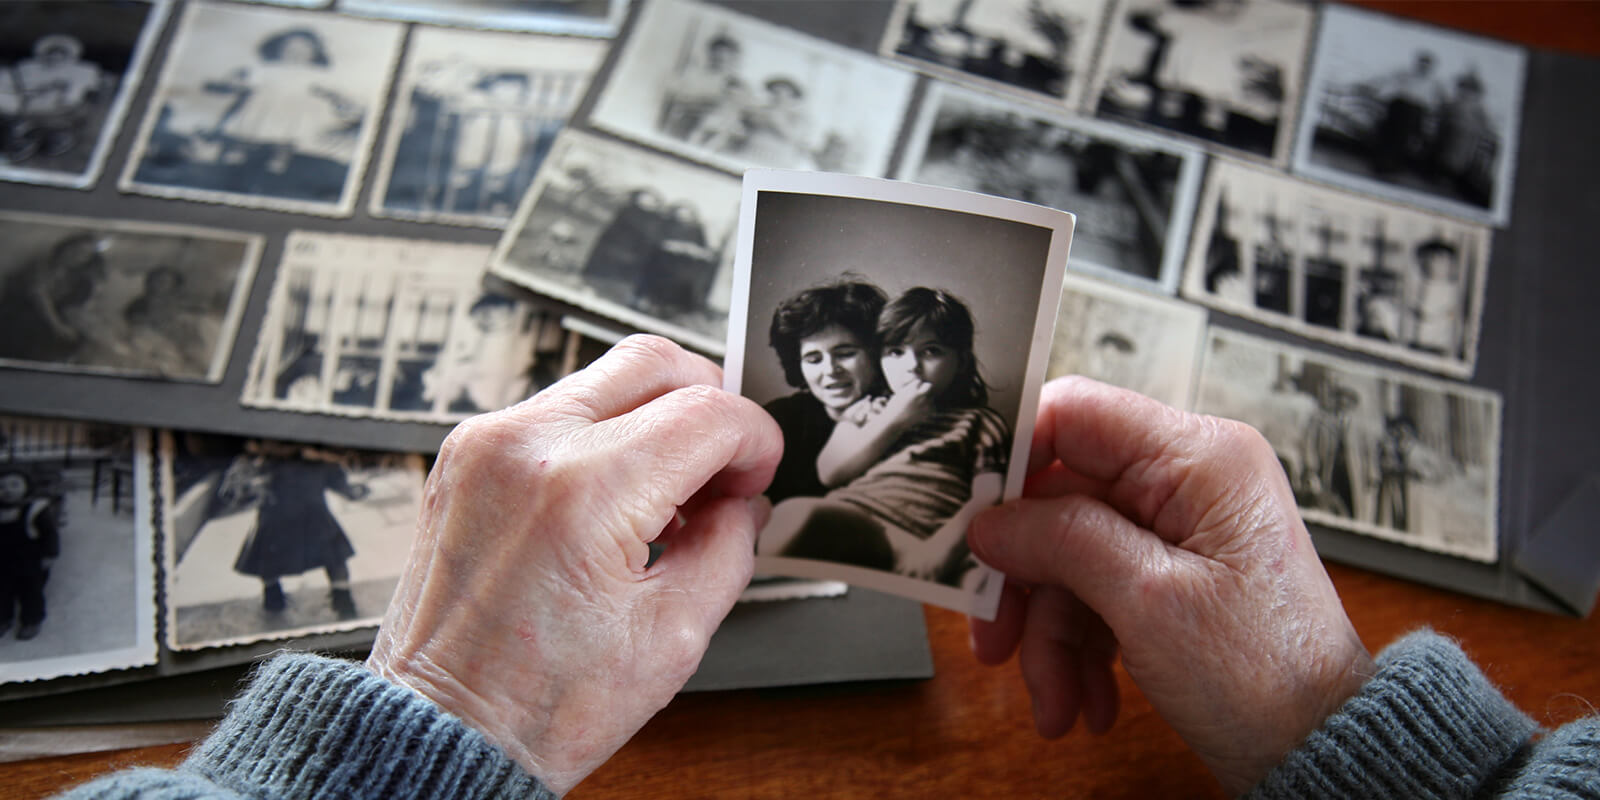
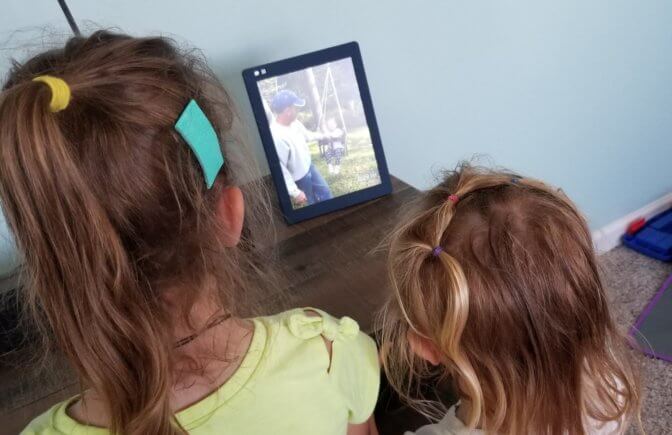
In fact, all of this takes time and effort. But the coolest thing is being able to watch a family gather around the table with the photos and memories and start sharing stories. This is a great time to have a paper and pencil handy, so you can write down the memories from everyone’s perspective. It also makes a great holiday activity when the family is all together, whether in person or via video conference. Share the photos and have a game of Guess Who. Look for family resemblances, check Uncle Harry’s cool car and his crazy plaid pants! 

Enjoy the stories with a Nixplay Frame

One of the options I typically give my clients is to buy a Nixplay (or two). They can send many of the photos to the frame and give it as a gift for another family member. How fun it can be to have a recent memory pop up followed by someone generations earlier who have the same nose. 

Littles watch nixplay

I love what I do and I take great pride in my work. So if you have that unopened box hidden away, let a professional photo organizer help you sift through the items and, perhaps, you will find hidden treasure.

Jodi is a certified professional photo manager in Indiana.  She is also an educator and volunteer emergency medical technician.  She understands the importance of human connection and the telling of stories through image and print.  When she is not working on client projects, you can find her playing with grandkids and helping others to document their memories.

Organize and digitize your photos with Nixplay

Caren Osborne’s Latest Photo Organizing Project

It’s been a tough few months for everyone, but things are finally starting to reopen, and people are moving around a bit more. I drove down to North Carolina recently to spend ten days with my daughter, son-in-law, and grandchildren. The drive was a bit surreal as there was no traffic, so I made it all the way from eastern Connecticut to Chapel Hill, North Carolina in 10 and a half hours! I had a wonderful visit and, while there, I found a beautiful new home close to my family. For the next few weeks, I will be putting my business on hold while I organize, pack up and move.

digitized photos

Organizing and Digitizing my Late Husband’s Photos

My latest photo organizing project has been going through my late husband’s photos. There was a box stored under the pool table (that we don’t use) labeled “Rick’s photos”.  He and I had started going through it a couple of winters ago, but never finished. With his passing, I now wanted to take the time to sort and organize all of those photos to preserve them for myself and his family. It turned out that a lot of the photos were actually his mother’s and sister’s, so I put those aside and gave them to my sister-in-law to sort through herself. For my husband’s photos, I organized them by date when I could and the rest by subject – such as vehicles (he was into classic cars and restoring Jeeps and trucks), family, boats (he had a lot of those over the years too), pets, and photos of the two of us.

After I finished sorting and organizing the photos, I then digitized them so that they can be preserved and treasured for many years to come. To give our families the chance to re-live their memories, I’ll also be putting them into a Forever account so they can view them and add their own comments. I wish I had the opportunity to finish organizing the photos with Rick, because I’m sure there are some wonderful stories that go along with many of them. More emphatically than ever, I advise everyone to take the time to record the stories that go along with each photo – before they’re lost forever.

organized photos

Using a Nixplay frame to digitize and display photos

After spending some time looking back at all these special moments, , I went through the digital photos on my computer and phone, and identified all the special ones of Rick over the years. I have been very diligent over the past 15 years in organizing my digital photos, going back to the ones I took with my digital cameras, by date and subject, so it was easy to find the ones I wanted to pull out.

My next step in this photo organizing project was to go through my traditional paper scrapbook albums that I have created over the past 22 years, pull out the special photos of Rick during our many adventures, and digitize them to add to my collection.

Finally, I’ll be creating a few collages from the scanned photos to be used as memorial boards for his funeral and adding all of our photos to my Nixplay digital photo frame which will be on display after the funeral at our house for family and friends to view. My goal is to eventually create a book celebrating his life to be able to preserve his story for myself, his daughter and his grandchildren.

Organize and digitize your photos with Nixplay >>>

Caren is passionate about preserving photos and stories for her daughter and grandchildren. It is this passion that she brings to her clients as she assists them with preserving their photos and their stories to enjoy now and for future generations.

Top Tips For Starting Out In Photography

How To Get Started In Photography: Top Tips

There’s never been a better time to pick up a new hobby. Whether it’s cooking, arts and crafts, learning a new language, or writing your own book, enhancing your personal skills in something you love is never a waste of time. And if what you love involves capturing memories, seeing the art in natural landscapes, or working with cool new gadgets, studying photography should be at the top of your to-do list.

Want to know how to get started in photography? Read our guide on photography tips for beginners, how to start a photography blog and which photography equipment you’ll need to make the most of your new favorite pastime.

someone using photography equipment for beginners

Basic Photography Tips For Beginners

While we mostly just use our phones to embrace our inner photographers, in reality, it takes a little more than that to go from a snap-happy amateur to a fully-fledged photography expert. And as they say, if it were easy, everyone would quit their day job and live off their hobby!

Just like any art, photography has to be learned and practiced—a lot. It is a trial and error process; we all start at the bottom and build our way up.

1. Choose The Right Photography Equipment

Before even starting to focus on what’s in front of you, you need to think more about what you’re using. Which photography equipment should you invest in when you’re doing photography as a hobby?

When you’re just getting started, you’ll want to choose user-friendly, simple photography equipment that is high-quality, but also easy to use. That doesn’t mean you need to go all out and instantly buy lighting, backdrops, and a whole bunch of props. At the very least, you will need a decent camera, a camera strap, an SD memory card with lots of storage space, a camera cleaning kit, and a photography bag. If you’re feeling really adventurous, a tripod is also a great purchase to make for achieving a smooth, still camera shot—especially when outdoors.

The tricky part of course, is deciding which camera to buy. As a beginner—or if you’re just doing photography as a hobby – a bridge camera is a great compromise to more expensive DSLRs and lenses. This will allow you to get an impressive zoom range but at a fraction of the cost of a DSLR camera with a telephoto lens. Most bridge cameras also have a variety of features, including full manual controls, shutter speed, aperture, ISO sensitivity, color balance, and metering. You can pick one up for as little as $100, which is a fair price to pay when you’re investing in your skillset. 

2. Don’t Limit Yourself To One Style Of Photography

When thinking about how to get started in photography, you’ll likely be tempted to just focus on one type of photography that appeals to you. Of course, if you like portrait photography, then you should do that, but you should always keep your mind open to exploring other possibilities. This means working your way up and trying your hand at a variety of different styles, such as landscape, wildlife, still life, architecture, or even fashion.

A good place to start is by thinking about what you enjoy, or what brings out the emotional side of you. The more personal the photography is to you, the more likely you are to find your true muse. 

3. Don’t Underestimate Photo Editing

While you’re learning how to take the perfect shot, how to master the art of angles, and how to capture the best lighting, you also need to know how to edit a photo once you’ve taken it. This is where post-processing comes in.

When you’re doing photography as a hobby or even just trying to grasp the most basic photography tips, you might underestimate the power of post-processing and editing—something that can truly make or break an image. Once you learn how to master software like Lightroom and Photoshop, your photography will become more like a start-to-end process, because you will automatically think about post-production.

If you want to get started using Photoshop, the best way to learn is to just play around, watch tutorials, and understand all the different tools at your disposal. Having the ability to edit and enhance your pictures can spell the difference between a great shot and a masterpiece. 

4. Start A Photography Blog

What good is taking hundreds of mesmerizing and awe-inspiring photos if you’ve got nowhere to put them? By creating a blog, you can do much more than just upload your pictures. You can include captions and write descriptions that discuss the processes and techniques you used. Aside from being a great way to document your progress, it also gives like-minded people the boost to try it themselves.

If you’re wondering how to start a photography blog, you could first opt for creating a free blog on Wix or WordPress to initially build up your following and map out your blog style. Once you’ve noticed some traction on your blog, you might want to consider upgrading to a professional account. Starting a blog is an effective way to expand your network, gain followers, and work on your online presence. When you eventually upgrade to a paid offering, you can ditch the standard website handle and develop your very own website.

If you’re looking for a more powerful and unique way to display your photos around your own home, or if you’re looking for a way to share your photos with friends and family, you can’t go wrong with a Nixplay Frame. Not only will it allow you to show off your hard work in HD quality, but you’ll also be able to share it on several social media platforms. With Nixplay, you can arrange and organize your pictures in specific themed playlists, and you can even connect it to Google Home and Alexa devices so you can easily browse through your photos using just your voice! Displaying and sharing photos has never been more special.

5. Don’t Ignore Instagram

Speaking of social media, Instagram is one of the most obvious tools to utilize when you’re getting started in photography. If you’re wondering how to start a photography Instagram, or how to make the most of it, it’s not overly complicated. Once you’ve created your photography profile with a catchy handle, you can simply start uploading your photos. To gain more followers, try using popular hashtags, following lots of other relevant profiles, and linking out to your blog from your profile bio.

The higher the quality of your photos, the higher your engagement will be. And the more work you put into improving your Instagram presence, the better the outcome. That means spending a lot of your spare time liking, commenting, and reaching out to other Instagram users, posting at the busiest times of the day, creating effective captions, and most importantly, using the best filters and effects for your photos. 

Hopefully our photography tips for beginners have encouraged you to get started. So, what are you waiting for? The camera is ready and the world is waiting! And if you’re looking for the best place to store your photos once you’ve switched the camera off, a Nixplay Frame is the way to go. Browse our collection today.  

how to look photo-ready for st patricks day

How to Look Photo-Ready for St. Patrick’s Day and Beyond

Looking picture-perfect is a goal many strive for. This is especially true on holidays like St. Patrick’s Day, where office parties and parades are abundant and pictures are captured to commemorate the events. If you’re worried about your celebrations not being photogenic enough, now is the perfect time to set yourself up for success on St. Patrick’s Day and beyond. Make sure you’re photo-ready for whatever event is thrown your way with these tips and tricks!

Let your outfit take center stage in photos

You wouldn’t want to look back on your photos from St. Patrick’s Day and only be able to notice that ketchup stain on your shirt. You will want to make sure your outfit is picked out and planned beforehand to avoid having to rush while getting ready. You also will want to make sure the outfit blends in at whatever activity you’re going to. You don’t want to be the only one dressed up as a leprechaun at your office party, nor would you like to be the only one not wearing green to the bar. Ask around and see if what your co-workers or friends are wearing aligns with your planned outfit for the day.

This advice actually goes beyond just St. Patrick’s Day. Make sure to plan your outfit accordingly for all the events and parties you attend. Just like wearing a color other than green on St. Patrick’s Day, you do not want to be the only one besides the bride wearing white to your friend’s wedding.

Picking out the outfit beforehand will not only save you some time getting ready on the day of the event, but it will also give you some peace of mind that what you’re wearing will be appropriate for the big day. This will let you focus on socializing with friends or co-workers, and not on your shirt being inside out. It will also help you show off your confidence in photos!

Strike a pose

It’s normal to feel uncomfortable in front of the camera, especially when you’re lacking in confidence. Try planning out what pictures you want to snap for the night and how to best pose for them! For group photos, try thinking about where you’ll want to position yourself. You don’t want to be the shortest of the group and get stuck behind your tallest friend at the last second. Being prepared for whatever picture may be captured can also help give you a confidence boost. Plus, a great pose can highlight your body’s best features and minimize the parts you aren’t too confident about.

It’s important that you do some research beforehand (even if your ‘research’ is just practicing poses in the mirror) to see what feels most natural and shows off your figure in the best light. Check out some of these tips to see how you should be posing for pictures!

Get a good night’s sleep and show off your energetic side

Once again, you wouldn’t want to look back on your pictures and only be able to focus on the dark circles under your eyes. Most adults need at least seven hours of sleep every night to feel their best. This is especially important on days like St. Patrick’s Day, when bar hopping and staying out late is common for many. Make sure you’re getting in enough z’s before any big event to ensure you’re looking well-rested in photos!

Getting a good night’s rest before an eventful day like St. Patrick’s Day will be a life-saver, and this will show in the pictures you capture too.

Make sure your skin is glowing and photo-ready

While most photos won’t show every blemish and imperfection on your skin, making sure you’ve maintained a consistent skincare routine will help your skin have a youthful and glowing appearance in photos. The first step to achieving this is to know your skin type. If you have oily and acne-prone skin, a heavy moisturizer may not be the best idea. Do some digging to find out what type of products work best with your skin type. If you’re not exactly sure what category you fit into, be sure to check out this guide.

Next, you’ll want to find the best products for you. Pay attention to how your skin reacts to certain products and watch out for signs of irritation such as bumps or rashes. What may seem like a good product may actually leave your skin looking red and irritated in pictures with friends.

Men should also mind their skincare. If your skin is on the sensitive side, make sure to grab a skin-protecting shaving kit that will give you a clean shave without razor bumps and cuts. This will help you look and feel your best when the camera flash goes off!

Show off your smile

Last but certainly not least, you’ll want to make sure your teeth are taken care of before the big day. Often, the first thing anyone notices in a picture is their smile. The last thing you would want to notice after the camera flashes is a piece of food stuck in your teeth. Make sure your teeth are brushed and flossed just before you leave for your big plans so you can show off that smile. Whitening your teeth doesn’t have to be expensive and time-consuming! If you really want to go the extra mile and achieve a whiter smile, there are lots of simple home remedies that will do the trick. It’s never a bad thing to have the brightest and biggest smile in the room when you ‘say cheese’ before the picture is snapped.

Once the photos are taken and St. Patrick’s Day has come and gone, make sure you can always look back on them with a Nixplay digital frame. Thinking back on those memories with a smile will be the icing on the cake! We hope these tips will help you prepare for your St. Patrick’s Day parties and beyond!

How To Take Better Photos In The New Decade

How To Take Better Photos In The New Decade

2020 had just begun, and the start of a new decade means taking lots of photos! However, capturing the magic you’re seeing in front of you can be a lot harder than it looks.

With that in mind, here are some beginner-friendly tips that will help you take the best photos, whatever time of year it is.

Plan Ahead

The last thing you want while setting up for a family portrait is discovering that your SD card is full, or worse, not even there. The same is true of a dead or dying battery.

Make sure to clear your cards and charge your batteries well before any party or event starts. And since you invested in your photography gear, make sure to always pack them with care, whether that simply means charging your phone and checking its camera settings or bringing a DSLR with a number of different lenses.

Take Some Test Shots

Many gatherings happen indoors with less than optimal lighting. That’s why it’s helpful to take some test shots before everyone arrives, especially if you’re not used to low-light situations or don’t know your camera very well. Taking a few test shots will give you a chance to dial in your settings, troubleshoot without any pressure, and stack the deck in favor of you landing great shots.

Use A Tripod

For low light shots, it’s often best to use a tripod.

A tripod might seem a bit of overkill for family gatherings, but if you’re looking to get great images of stationary objects in low light, they really can’t be beaten. It can really come in handy for those special moments that need a longer exposure.

Tripods don’t have to be big and bulky either. In fact, there’s a whole host of lightweight, small-profile travel tripods to choose from these days. You can even find an excellent yet affordable mini-tripod that can fit in a pocket or a purse. Either way, it never hurts to have one on hand, especially if you want to pose the family before a dinner meal. As a bonus, it also ensures that you’ll be in the frame, too.

Turn Off The Flash Indoors, And Bump Up The ISO Instead

One of the more common mistakes beginners make during indoor shoots is letting the automatic flash fire. Sure, it can help get your photos in focus in low-light situations, but it also can create unflattering shadows, whitewashed faces, and images that are overexposed in general.

What a lot of novice shutterbugs don’t know is that increasing the ISO instead of using a flash will get you better results almost every time.

ISO refers to your camera’s sensitivity to light. The higher the ISO number, the more sensitive to light your sensor is and the less light it needs to expose your images. While super-high ISOs can lead to noise in the image, these days most cameras can easily shoot with the ISO just a little elevated—see more here regarding what is ISO for clarification.

For indoor gatherings like a cozy party, try using an ISO setting in the 800-1600 range. Depending on your camera, you may even be able to go up to 6400 or beyond. Modern technology is getting pretty amazing, after all!

Even when taking photos using your phone, try raising the ISO a bit instead of using the flash. Check out these iPhone photography tips for more advice on getting great smartphone photos.

Ditch Auto Mode

Just about everybody starts off using the Auto mode on their cameras (phone or otherwise), but your camera doesn’t always make the best choices. For best results, learn to use some of the other modes on your camera.

For example, aperture priority mode (A or Av) is a really easy step up. It lets you choose the aperture and ISO settings, leaving the camera to figure out the shutter speed.

Another option is shutter priority mode (S or Tv), which lets you choose the shutter speed and ISO, leaving the camera to decide on the best aperture (For indoor gatherings, try starting out somewhere between 1/60 and 1/90.)

Both of these are great step-ups from Auto Mode, and they’re relatively easy to learn and to master. Just make sure to practice a bit before the event you want to photograph so you know how both of these modes work.

Look For Moments, Not Poses

While it will likely be hard to avoid going for at least a few posed family photos, the most touching photos come show how people are with one another and the elements around them.

Try getting shots of your family interacting with each other—maybe laughing or sharing a drink. Or catch them as they open presents or light candles. By taking pictures of people just being themselves, you’ll be more likely to capture memories that will strike a chord long into the future.

If you really prefer to get some staged shots, here’s a guide to posing as a couple that might help make mum and dad look even more loved-up!

Get Down To Eye Level With The Kids

When taking photos of children, don’t hesitate to get down to their level.

When taking shots of the kids—especially toddlers and babies—try taking shots from their eye level. This allows us to see the world a bit more from their point of view while avoiding the distant feel that shooting from above can often evoke.

Learn To Edit

While it might be tempting to just shoot and share, the best photos usually undergo at least a little post-processing. I’m not talking about adding an Instagram filter, but rather basic (or even more creative) adjustments that will bring out the best in your images.

Adobe Lightroom is the industry standard for pros and amateurs alike, but if that’s a bit much for you there are plenty of other great programs out there that make editing super-fast, fun, and easy. There even a lot of free options out there for both smartphones and computers alike.

Whichever you choose, learning a bit of post-processing will really bring out the shine in your images.

Show off your work!

Whether you’re using your phone or a dedicated camera, coming out with disappointing photos is never fun.

So, if you’re new to the world of photography or just want to get better at capturing the magic of the holiday season, these tips should help you make frame-worthy photos you’ll want to send to your friends and family.

And speaking of frame-worthy, don’t forget to display your images on a Nixplay digital frame!

Whether you’re looking for a smart frame that features the latest in connectivity (i.e. snagging photos from Facebook or Instagram) or just want a trusty digital frame (i.e no wi-fi), Nixplay makes it super easy to display all your favorite images on the wall, on the mantel, or just about anywhere you can think of putting up a photo.

You can even use Amazon Alexa or Google Home Assistant to turn it on or off, or turn on Nixplay’s motion sensor and have the photos magically play when someone enters the room!

We hope these bits of advice will help you capture the magic of the new decade and leave you with some great memories to treasure and display.

Mark is the founder of Shotkit, a site which gives photography enthusiasts a peek into the camera bags of the world’s best photographers.

Page 1 of 2

Powered by WordPress & Theme by Anders Norén