Tag: digital photography tips Page 1 of 2

How To Take Better Photos In The New Decade

How To Take Better Photos In The New Decade

2020 had just begun, and the start of a new decade means taking lots of photos! However, capturing the magic you’re seeing in front of you can be a lot harder than it looks.

With that in mind, here are some beginner-friendly tips that will help you take the best photos, whatever time of year it is.

Plan Ahead

The last thing you want while setting up for a family portrait is discovering that your SD card is full, or worse, not even there. The same is true of a dead or dying battery.

Make sure to clear your cards and charge your batteries well before any party or event starts. And since you invested in your photography gear, make sure to always pack them with care, whether that simply means charging your phone and checking its camera settings or bringing a DSLR with a number of different lenses.

Take Some Test Shots

Many gatherings happen indoors with less than optimal lighting. That’s why it’s helpful to take some test shots before everyone arrives, especially if you’re not used to low-light situations or don’t know your camera very well. Taking a few test shots will give you a chance to dial in your settings, troubleshoot without any pressure, and stack the deck in favor of you landing great shots.

Use A Tripod
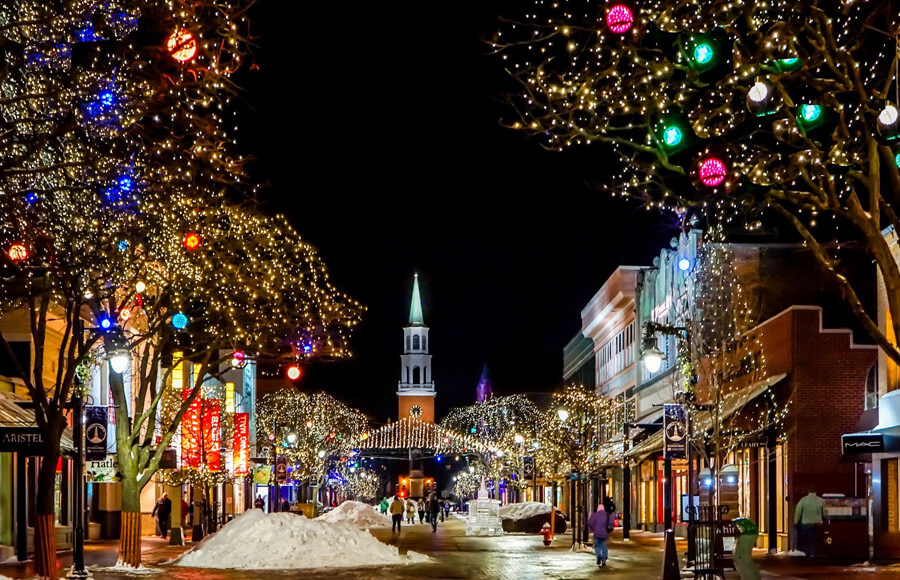
For low light shots, it’s often best to use a tripod.

A tripod might seem a bit of overkill for family gatherings, but if you’re looking to get great images of stationary objects in low light, they really can’t be beaten. It can really come in handy for those special moments that need a longer exposure.

Tripods don’t have to be big and bulky either. In fact, there’s a whole host of lightweight, small-profile travel tripods to choose from these days. You can even find an excellent yet affordable mini-tripod that can fit in a pocket or a purse. Either way, it never hurts to have one on hand, especially if you want to pose the family before a dinner meal. As a bonus, it also ensures that you’ll be in the frame, too.

Turn Off The Flash Indoors, And Bump Up The ISO Instead

One of the more common mistakes beginners make during indoor shoots is letting the automatic flash fire. Sure, it can help get your photos in focus in low-light situations, but it also can create unflattering shadows, whitewashed faces, and images that are overexposed in general.

What a lot of novice shutterbugs don’t know is that increasing the ISO instead of using a flash will get you better results almost every time.

ISO refers to your camera’s sensitivity to light. The higher the ISO number, the more sensitive to light your sensor is and the less light it needs to expose your images. While super-high ISOs can lead to noise in the image, these days most cameras can easily shoot with the ISO just a little elevated—see more here regarding what is ISO for clarification.

For indoor gatherings like a cozy party, try using an ISO setting in the 800-1600 range. Depending on your camera, you may even be able to go up to 6400 or beyond. Modern technology is getting pretty amazing, after all!

Even when taking photos using your phone, try raising the ISO a bit instead of using the flash. Check out these iPhone photography tips for more advice on getting great smartphone photos.

Ditch Auto Mode

Just about everybody starts off using the Auto mode on their cameras (phone or otherwise), but your camera doesn’t always make the best choices. For best results, learn to use some of the other modes on your camera.

For example, aperture priority mode (A or Av) is a really easy step up. It lets you choose the aperture and ISO settings, leaving the camera to figure out the shutter speed.

Another option is shutter priority mode (S or Tv), which lets you choose the shutter speed and ISO, leaving the camera to decide on the best aperture (For indoor gatherings, try starting out somewhere between 1/60 and 1/90.)

Both of these are great step-ups from Auto Mode, and they’re relatively easy to learn and to master. Just make sure to practice a bit before the event you want to photograph so you know how both of these modes work.

Look For Moments, Not Poses

While it will likely be hard to avoid going for at least a few posed family photos, the most touching photos come show how people are with one another and the elements around them.

Try getting shots of your family interacting with each other—maybe laughing or sharing a drink. Or catch them as they open presents or light candles. By taking pictures of people just being themselves, you’ll be more likely to capture memories that will strike a chord long into the future.

If you really prefer to get some staged shots, here’s a guide to posing as a couple that might help make mum and dad look even more loved-up!

Get Down To Eye Level With The Kids

When taking photos of children, don’t hesitate to get down to their level.

When taking shots of the kids—especially toddlers and babies—try taking shots from their eye level. This allows us to see the world a bit more from their point of view while avoiding the distant feel that shooting from above can often evoke.

Learn To Edit

While it might be tempting to just shoot and share, the best photos usually undergo at least a little post-processing. I’m not talking about adding an Instagram filter, but rather basic (or even more creative) adjustments that will bring out the best in your images.

Adobe Lightroom is the industry standard for pros and amateurs alike, but if that’s a bit much for you there are plenty of other great programs out there that make editing super-fast, fun, and easy. There even a lot of free options out there for both smartphones and computers alike.

Whichever you choose, learning a bit of post-processing will really bring out the shine in your images.

Show off your work!

Whether you’re using your phone or a dedicated camera, coming out with disappointing photos is never fun.

So, if you’re new to the world of photography or just want to get better at capturing the magic of the holiday season, these tips should help you make frame-worthy photos you’ll want to send to your friends and family.

And speaking of frame-worthy, don’t forget to display your images on a Nixplay digital frame!

Whether you’re looking for a smart frame that features the latest in connectivity (i.e. snagging photos from Facebook or Instagram) or just want a trusty digital frame (i.e no wi-fi), Nixplay makes it super easy to display all your favorite images on the wall, on the mantel, or just about anywhere you can think of putting up a photo.

You can even use Amazon Alexa or Google Home Assistant to turn it on or off, or turn on Nixplay’s motion sensor and have the photos magically play when someone enters the room!

We hope these bits of advice will help you capture the magic of the new decade and leave you with some great memories to treasure and display.

Mark is the founder of Shotkit, a site which gives photography enthusiasts a peek into the camera bags of the world’s best photographers.

blog-nixplay-halloween photography

5 Scary Good Halloween Photography Tips

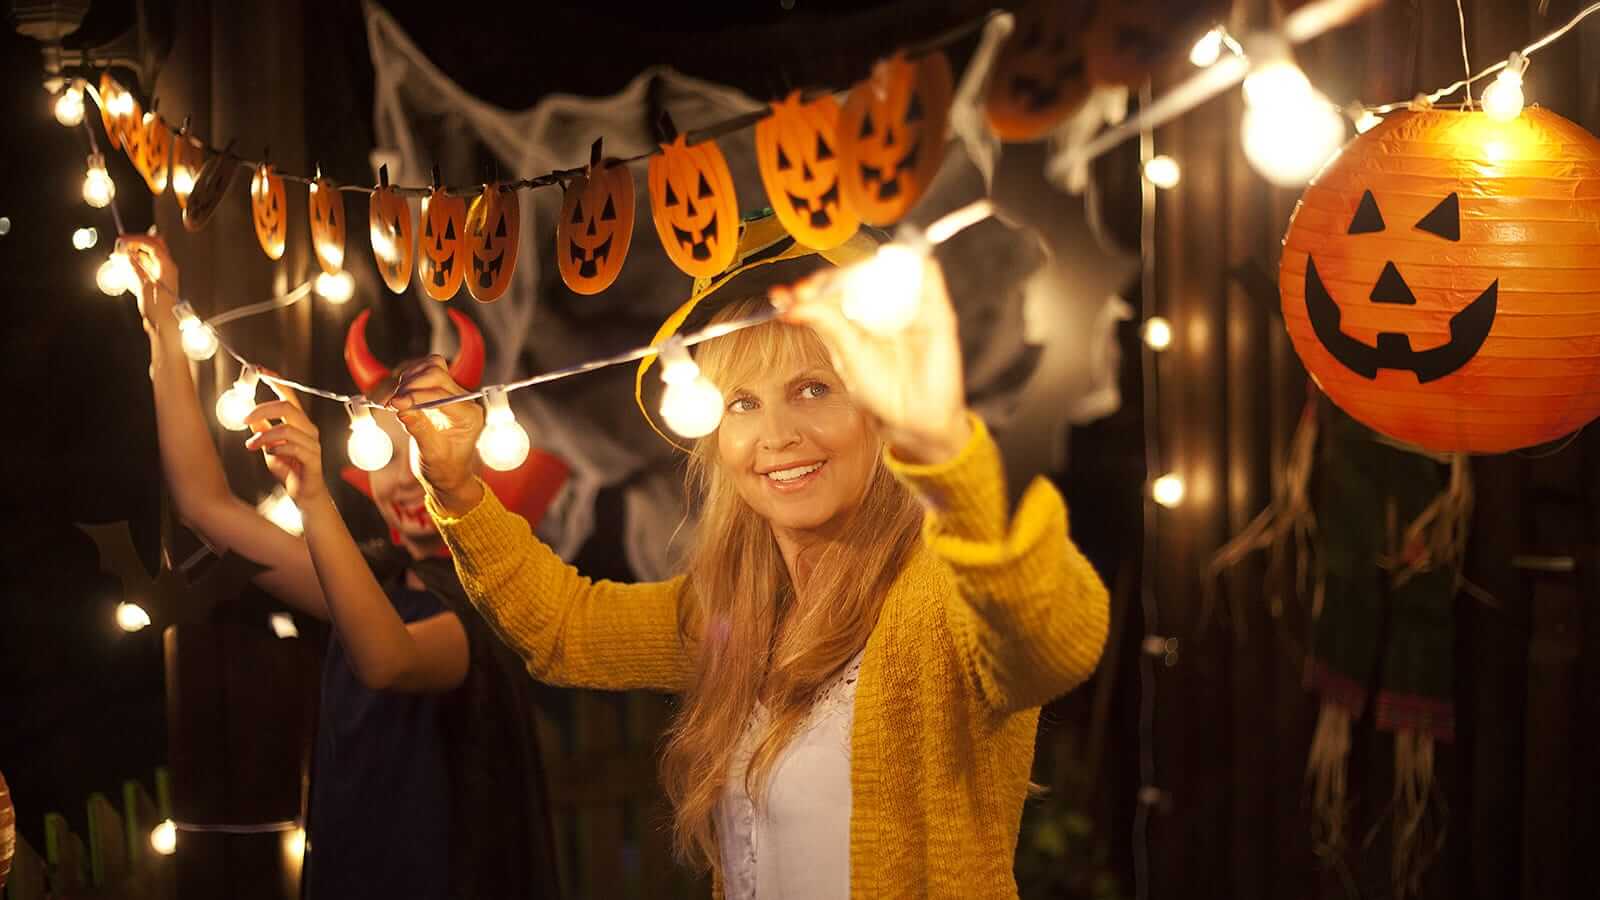
Halloween is just around the corner, and we are pretty sure that you’re looking forward to getting dressed and having some fun on the spookiest day of the year. And speaking of fun, taking photos of your favorite Halloween highlights is definitely a must-do.

However, some folks might find that capturing the spirit of Halloween is easier said than done. This holiday has several tricks up its sleeve, from low light situations to busy subjects, that can frustrate even the most seasoned photographer.

Here, we’ll share with you some helpful tips so your photos of the holiday’s trickiest costumes, decorations, and low-light spooky parties will turn out to be a visual treat. Read on!

1. Mind the light

Shooting using natural light is always sound photography advice. It’s especially good practice during autumn, when everything is bathed in a warm glow. Since Halloween happens during this time of the year, take every opportunity to shoot outdoors and fill your images with the golden tinge the season brings. You’re bound to have some stunning photos, and making the effort to go out of town to capture some Halloween festivities will be worth it.

The above advice, however, cannot be applied if you’re shooting indoors or at night. The good news is that many camera manufacturers have been making some really impressive improvements in their sensors, making some good progress in terms of ISO behavior. Test your camera before your big Halloween party or trick-or-treating escapade so it’ll be easy for you to shoot decent photos in low light with a minimal amount of noise.

blog-nixplay-halloween photography

2. Play with masks and costumes…

Halloween’s the one day in the calendar when it’s perfectly fine to walk around in costume. Experiment with different masks and outfits, and play around with various light effects (remember how you’d scare your pals by holding a flashlight below your chin?). You’ll be amazed by how easy it can be to achieve some crazy and eerie effects that will photograph well.

3. But don’t forget your photos’ backgrounds

Whenever you are shooting people dressed up in their costumes, remember to also consider the backdrops of their shots. A dark, gloomy background will give you photographs a whole different level of spookiness. You can even derive inspiration from The Haunting of Hill House and get other people to be “ghosts” in the backdrop, which leads us to the next tip…

4. Make ghosts appear via long exposure

Have you ever seen a photo with a ghostly figure fading away in the background? Are you curious about how these images are made? Well, they happen inside the camera, and not in Photoshop as some might believe. Fine, you can achieve this during post-processing, but trust us, it’s easier to do it using your camera.

What you have to do is to make sure your camera is perfectly still (using a tripod is the best way to go about this) and then expose manually in order to achieve a well-balanced exposure but with a long shutter base. Images with two to five seconds of shutter speed will work fine.

Now, put your subject in front of the camera for a brief amount of time, and then ask him or her to get away as quickly as they can. The resulting photograph should have a spectrum of the subject. There is no exact recipe for this, so you’ll need to play around for a bit to achieve your desired effect. Ask your subject to dress in black and stare blankly at the camera for extra goosebumps!

5. Document all your Halloween shenanigans

There are some really iconic activities that happen during Halloween like pumpkin carving and trick-or-treating. Take out your camera and get lots of photos of the Halloween activities you’ll be participating in. This is basically the soul of Halloween, so it really makes sense to have some nice photographs of these precious moments. Don’t forget to display your pictures on your Nixplay frame—we’re giving you up to 20 percent off, only until November 4!

However, you decide to celebrate Halloween, don’t forget to always have fun and take as many images as you can!

Federico is a documentary photographer, writer and educator based in El Salvador. Check out his photography portfolio.

nixplay blog-food photography

5 Food Photography Tips And Tricks

These days, it’s not enough for food to taste good. To be on the radar of the most discriminating gourmands, your dish has to be photogenic as well—a feast not just for the palate, but also for the eyes.

It is hard to know exactly when food photography became so popular, but we have a theory that social media had a lot to do with it. It doesn’t matter if you are shooting with a phone, a point and shoot camera or a DSLR (even an analog film camera can work), what really matters is composition and lighting conditions. You don’t need to be a food stylist—anyone can make real food look good by following these simple tricks. Don’t forget to display your shots on your Nixplay Frame!

1. Mind the colors

The best thing you can do to achieve great food photos is to compose your shots with colors in mind. Colors are the biggest asset of food imagery, and can do wonders in making your dish look mouthwatering (or unappetizing). We suggest that you do some homework on color psychology, and you’ll see how important it is to use colors correctly.

2. Rustic and organic never fails

After news leaked about food styling and high makeup inclusions in food photography (especially on advertisements), there was a huge wave of food photographs depicting natural looks. Many dishes these days are plated to look good, so all you need to do is take out your camera and find a good angle. The best way to achieve a rustic look is to use fresh ingredients against a neutral backdrop.

Pro Tip: Need to get inspired? Keeping up with photography trends has never been easier with Instagram, Pinterest, YouTube, and many other platforms. Magazines and culinary shows like Chef’s Table are likewise great resources for inspiration.

3.  Use a tripod whenever you can

A tripod is a photographer’s best friend. It allows you to shoot in ways that are technically impossible to do handheld, giving you a wider range of angles to find the best shot. If you can’t work with a tripod, you can always figure out some solutions to keep your camera or phone stable and secure (bean bags are great for this).

4. The 90-degree approach

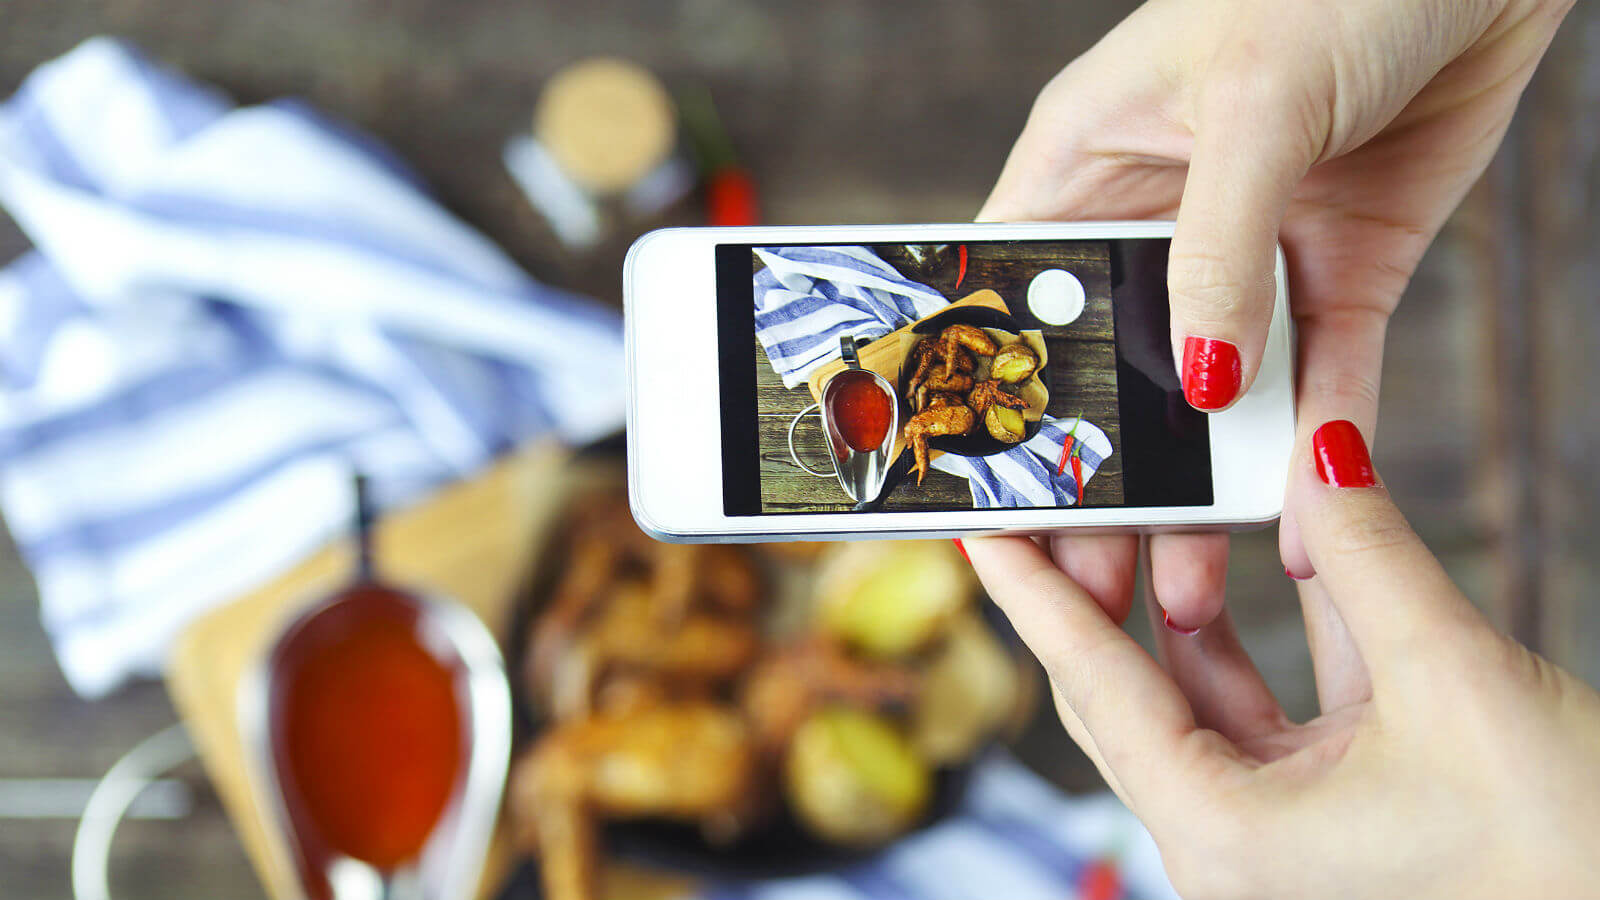
Never underestimate the power of the direct 90 degrees approach, also known as the overhead or top shot. This works fantastically for making dishes look tasty and beautiful.

Pro Tip: Use a macro lens whenever you can to better capture the details of your food—that lovely bokeh effect is awesome for food photographs. If you don’t have a lens-interchangeable camera, you can always use the macro mode on your point and shoot, or you can use selective focus (or even a converter) on your phone.

5. Keep it simple

Less is more in pretty much every creative discipline, and food photography is not an exception. Back in the old days of still-life paintings, food was depicted as a symbol of abundance and prosperity. Nowadays, the minimalist approach does the trick, keeping the focus solely on the dish.

We hope you find these bite-sized tips and tricks useful for making your meals drool-worthy in your photos. And remember: #FoodPorn shots are great, but eating your meal while it’s still hot is way better. Dig in and enjoy, folks!


Federico is a documentary photographer, writer and educator based in El Salvador. Check out his photography portfolio.

cute pet corgi dog animal photography on nixplay

4 Animal Photography Tips You Should Try With Your Pet

It’s said that you should never work with children or animals, and this certainly rings true when trying to conduct a photo session with one of your pets. You may know them and their behavior like the back of your hand, but when it’s time to look good in front of the lens, pets can be rather difficult to work with.

Here, we have compiled four animal photography tips that you should try with your pet. Let us know if they work!

1. Use treats

Although your dog or cat may have an idea as to what’s going on when you try to get them to do certain things, they definitely don’t understand the notion of “posing”, let alone animal photography. Because of this, the easiest way to get them to look in a certain direction is by luring them with treats or toys. They’ll be camera-ready in no time!

2. Play the waiting game

If you want to take a certain picture of your pet but they’re just not playing ball, consider simply waiting around nearby with a camera in your hands. You cannot communicate what you want your pet to do, and it may be a good idea to wait for them to “naturally” pose before taking that elusive picture.

If you’re taking part in a professional animal photography shoot, then the pet is likely to be excited or nervous at first, so be sure to remain patient and allow them to get the nerves out of their system.

cute pet corgi dog animal photography on nixplay

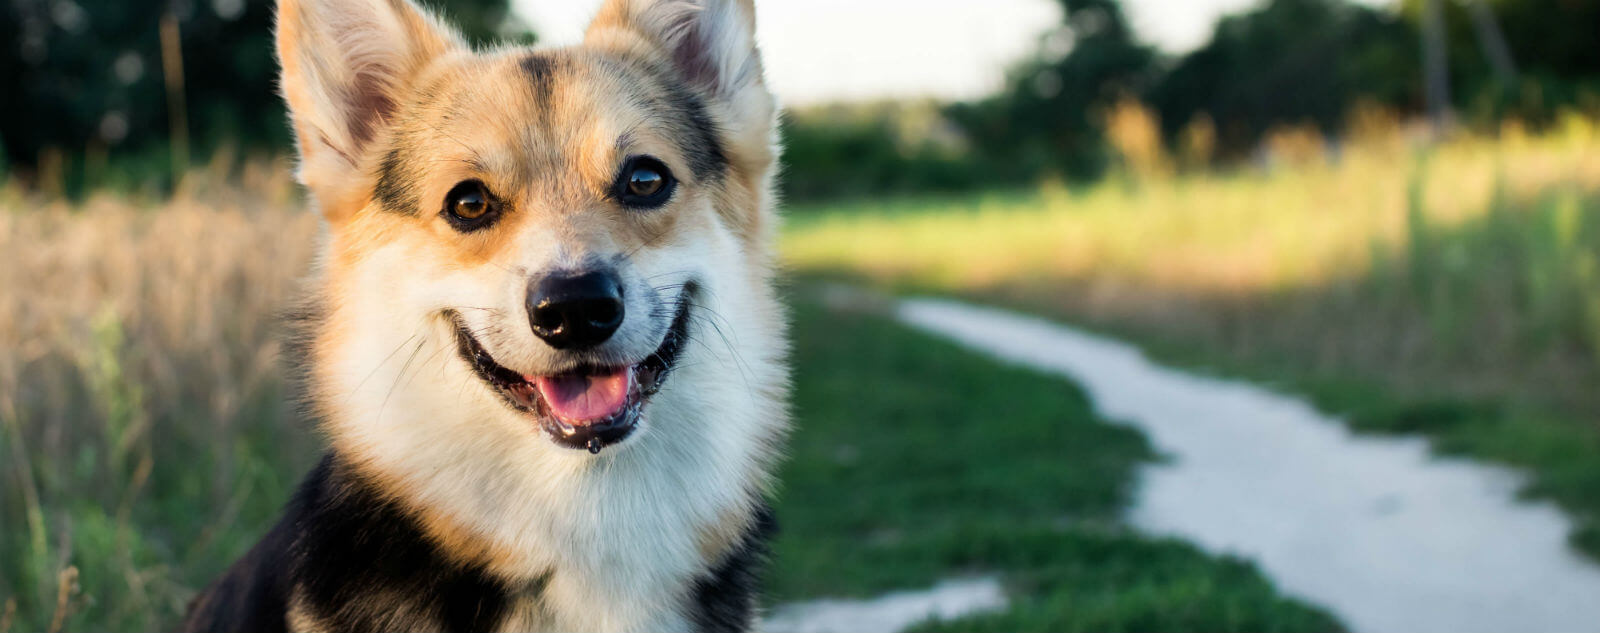
The nicest animal photography shots are usually taken at the most unexpected moments.

3. Use natural light

If you’re new to animal photography or just photography in general, you’ll quickly learn that natural light is one of the easiest and best light sources to work with. It’s especially nice when the daylight is naturally soft and diffused on a cloudy day, making for a pleasing picture. Windows and windowsills are also great for this purpose, as the glass tends to soften the daylight even further, making for a flattering photo.

4. Take notes from sports photography

When photographers are taking pictures of sporting events, they tend to use fast shutter speeds, burst mode, and continuous autofocus. Despite the fact that we’re talking about animal photography here, the ethos is very much the same.

A fast shutter speed (preferably at least 1/250) allows you to capture still-looking pictures of a pet that won’t sit still, while activating the burst mode means that you’ll take a flurry of pictures, at least one of which will hopefully be perfect. The continuous autofocus mode is designed to prevent your images from lacking sharpness, making your animal photography as hassle-free as possible.

Animal photography is no walk in the park, but with these top tips, you should be able to get that perfect snap in no time! Besides, taking photos of your cute companion will never be a waste of time. They love you unconditionally, and it’s nice to always be reminded of your furry best friend. Don’t forget to display your pet photos on your Nixplay Digital Photo Frame! Take advantage of our back-to-school sale and buy the Nixplay Seed 8-Inch Wi-Fi Cloud Frame to get up to 30% off!

Bea is Nixplay’s Social Media Manager. She enjoys drinking coffee, reading about wars, and writing stories. Send her a message at beatrice.bisais@nixplay.com.

5 Things You Can Do With All The Travel Photos You Took This Summer

5 Things You Can Do With The Travel Photos You Took This Summer

Summer’s almost over, and we’re sure you went on a few out-of-town trips to enjoy the great weather. You probably also took hundreds of photos to immortalize your trip, as you should.

Now, we’d like to ask you a question: What have you done with all the photos you took? Are they still languishing in your phone or camera’s memory card, with none of them (save for a couple of Instagrammable ones) ever seeing the light of day?

If you find yourself nodding along—we’re guilty of this, too—then here are some things you can do to truly immortalize your photos. This way, if you find yourself reminiscing about lazy days in far-off places, you’ll know exactly where to look.

1. Organize and back them up

The first thing you should do with your travel photos is to go through all of them and sort them according to place or date. More importantly, don’t forget to back them up on an external hard drive or better yet, on a cloud-based data storage system. This way, if your computer breaks down or your memory card gets corrupted, your photos will remain secure.

If you don’t have the time or the willpower to go through your images one by one, you should try using Google Photosit automatically sorts your images and keeps them secure online at zero cost. How’s that for hassle-free?

2. Share them on social media

Just because you’re back from your trip doesn’t mean you can’t upload your vacation photos anymore! Your Instagram or Facebook account, your rules—and if you want to upload a photo from your Barcelona tour a month ago, you shouldn’t let anyone stop you from doing so.  You may be back in your “real world,” but you can still let your social media persona bask in vacation bliss.

3. Frame them

When you have dozens of photos of beautiful places and incredible moments, it can be difficult to pick a few to print and frame. The easy solution: A digital photo frame that can store and display hundreds of images. NIX digital frames have USB and SD card ports for your pictures, while Nixplay Wi-Fi Cloud Frames lets you store and access your images and videos from the cloud.

And since we already mentioned Google Photos in a previous item, here’s another great thing it can do: If you have a Nixplay Frame, you can enable your Nixplay app to access your Google Photos account so it instantly updates the images on your frame for you. Displaying your travel photos has never been so easy!

4. Create art based on them

During your trip, you were probably lucky enough to take photos of some incredibly majestic sights. It doesn’t have to be something incredibly spectacular—a vivid sunrise or a particularly tranquil afternoon at the park can be just as inspiring. If you’re artistically inclined, take out your paints and brushes and paint your interpretation of the scene. If you’re pleased with your work, hang it in your home for an instant feel-good vibe.

5. Do some scrapbooking

Do you tend to keep tickets, receipts, cards, stickers, and other small printed paraphernalia accumulated during a trip? Take them out of the box you’ve been keeping them in and arrange them in a scrapbook along with printouts of your travel photos! This way, your children and grandchildren will have a well-preserved glimpse of all the adventures you’ve had.

Marianne is Nixplay’s Web Content Editor. Her hobbies include exploring new places, playing table tennis, and cuddling puppies. Send her a message at marianne.salazar@nixplay.com.

Page 1 of 2

Powered by WordPress & Theme by Anders Norén